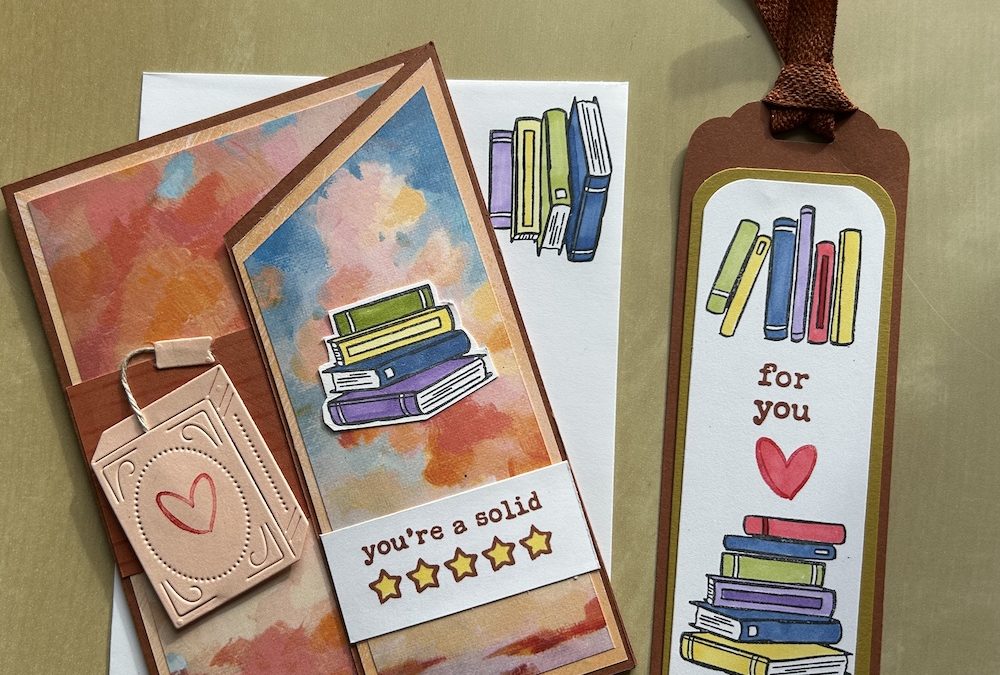
For today’s Live I used the fabulous For the Books bundle -ideal for me as a committed bookworm! As soon as I saw this bundle I knew I had to have it. I immediately had the idea of making a card with an integral bookmark holder and the bookmark to go in it.
I used the gorgeous Everyday Skies DSP for these cards. The first card used Copper Clay, the one I used in the live used Fresh Freesia cardstock. The video of the Live can be found below.
You will need:
- Coloured Card base 14.8cm x 27cm (5½” x 10½”)
- DSP 1: 2 pieces: 10cm x 14.3cm (4” x 5¼”)
- DSP 1: 5.5cm x 14.3cm (1¾” x 5¼”)
- DSP 2: 9.5cm x 13.8cm (3¾” x 5”)
- DSP 2 reverse pattern: 5cm x 10cm (2″ x 4″)
- DSP 2: 5cm x 13.8cm (1¾” x 3¾”)
- Basic White: 9.5cm x 13.8cm (3¾” x 5”)
- Bookmark: 5cm x 15cm (2″ x 5½”)
- DSP 1: 4.5cm x 12.5cm (1¾” x 4¾”)
- Basic White: 4cm x 12cm (1½” x 4½”)
- Scraps of coloured cardstock and Basic White for die cutting and sentiment
- Coordinating ink pad, Memento and Blends
Score the card base on the long side st 10.5cm and 21 cm (4¼” snd 8½”).
Mark 2.5cm down on the short flap end and use your trimmer to cut from the fold to the mark to create a diagonal cut across the top. Fold the main card bse together then fold the final flap outwards.
Adhere the DSP 1 panels to the front and inside of your card.
Stick the DSP 2 panel on the card front. Add the reverse pattern panel across the centre.
To decorate the side flap, use my simple way to cut the diagonal. Place the small DSP 1 panel on top of the side panel then lift it so that it lies 0.5cm (¼”) above the bottom. Turn the whole panel over and mark across the diagonal top then trim with your trimmer. Cut the DSP 2 small panel in the same way then adhere both panels to the front flap. See the video if you are unsure about this.
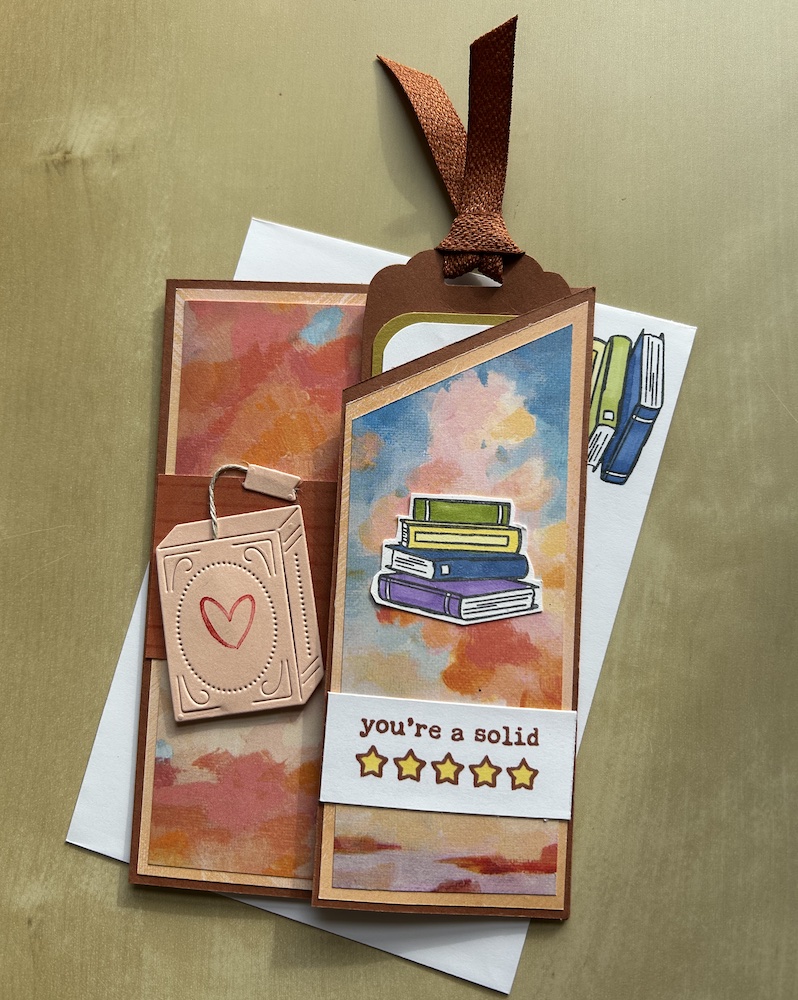
Add tiny blobs of glue at the bottom edge of the front flap and stick down to the front of the card. You don’t need to stick the side of the flap down as it will hold the bookmark without.
Die cut the book and tag from the scrap of coloured cardstock, Stick a short piece of twine behind the book front and bring it out through the cut line. Stick the end behind the tag. Add both to the front of the card using dimensionals.
Stamp a sentiment on a scrap of Basic White and add to the card front as shown. Stamp the pile of books, colour using blends and fussy cut out. Add these above the sentiment.
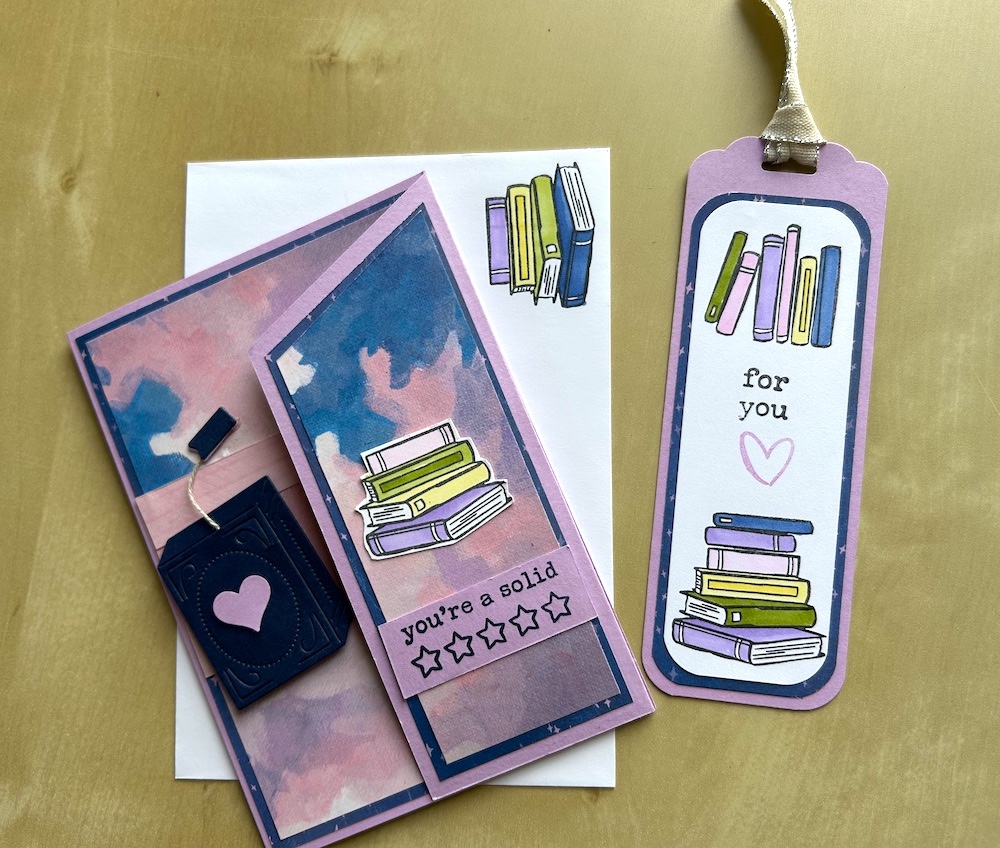
To make the bookmark, first shape the end using the Scalloped Tag or similar punch. Round the bottom corners.
Round all four corners of the DSP 1 and stick on top.
Stamp books and a sentiment if you wish to the Basic White piece. Colour using blends. Round all four corners then stick to the book mark.
Add a coordinating ribbon to the end. Slide the completed bookmark into the front flap of your bookmark card.
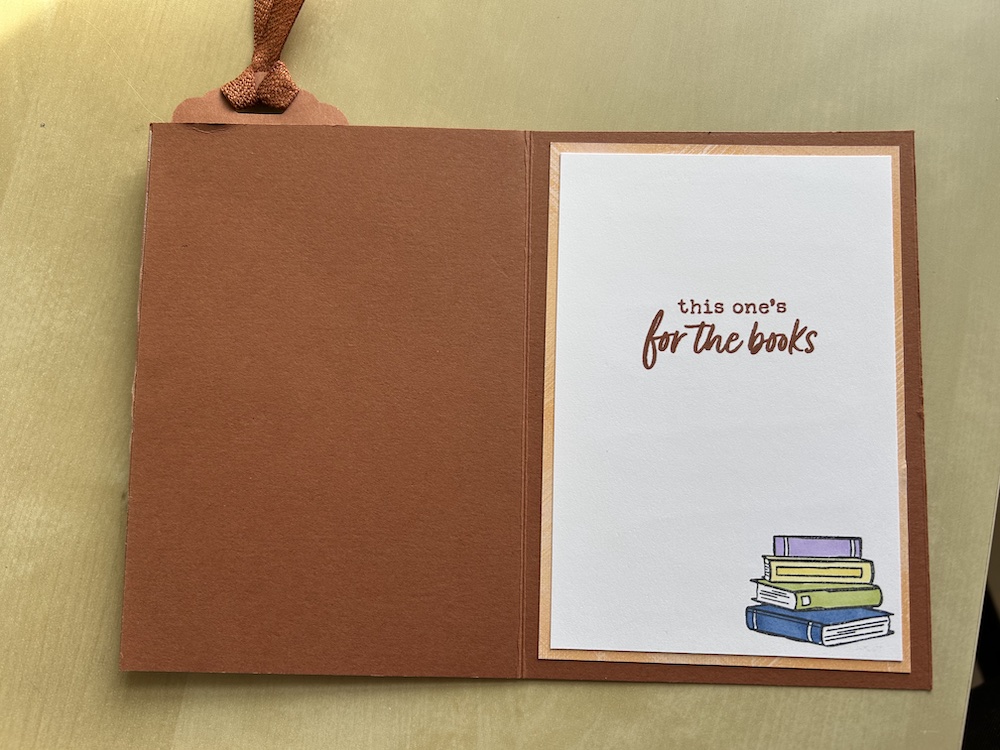
Stamp a chosen sentiment on the Basic White inside panel and decorate using Blend coloured books in the corner. Stick inside your card.
Don’t forget to decorate your envelope!
Here is the video of me making this card in the Live – why not join me on Tuesdays at 2pm on my YouTube channel or Facebook page @craftycarolscards? And sign up for my emails below so you’ll know what’s going on in future.
And here is the finished card I made in the live. I did change the die-cut book and tag to Night of Navy and added a punched heart which I think looks better! (Even though it looks very dark in this picture!)
I hope you like this card and will have a go at making one – please show me what you come up with.
Thank you for taking the time to read my post.

Don’t forget – you get a FREE pdf when you place any order with me as your demonstrator. And, if your order is over £40, you will also get to choose stuff from my online shop to the value of your order!
Product List ") |  |  |  | |
 |  |  |
 Designer Series Paper")
 Open Weave Ribbon")
 Textured Ribbon")
