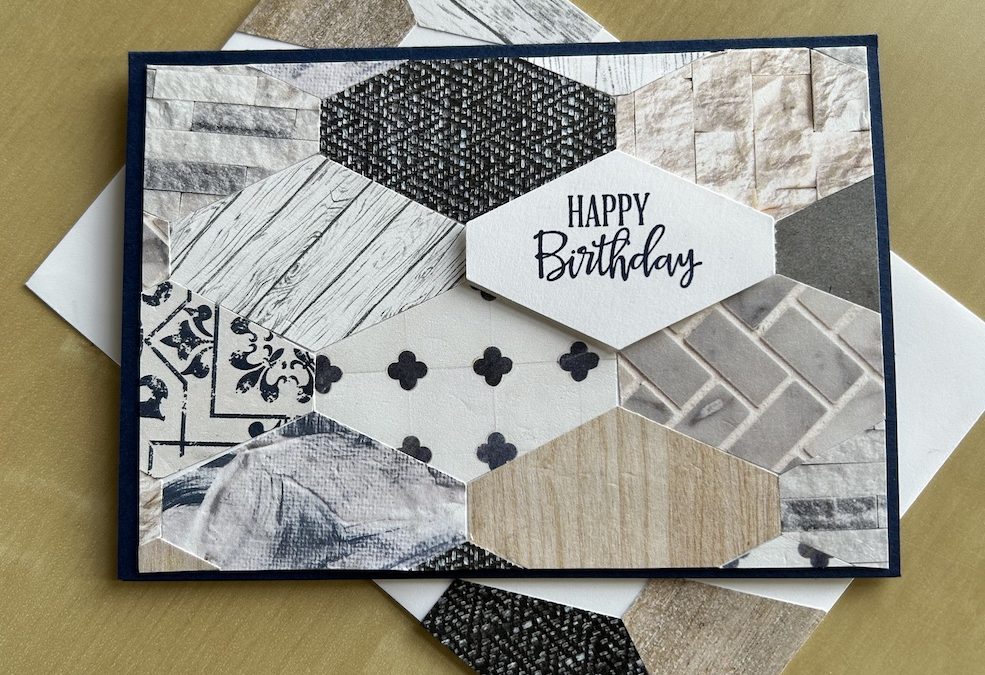
The third male card in my four cards for men series is a generic male greeting card. The fun is in making the patchwork hexagon front. It can be adapted for any occasion, not just for a birthday. Think anniversary, thank you, thinking of you and so on. I made it as a birthday card, as my ladies had asked for those!
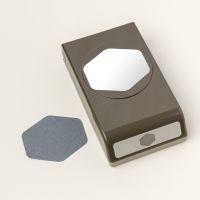
I used the now-retired Tailored Tag punch, but the currently available Heartfelt Hexagon punch would work as well. It’s a re-make of a previous card I designed using the old small hexagon punch. But any punch that is symmetrical and has corners you can butt up to each other would work for this design.
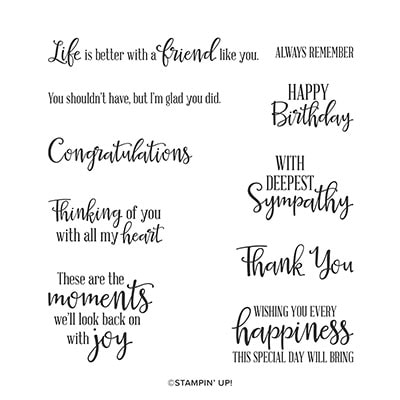
The sentiment and the phrase for inside the card are from the Peaceful Moments stamp set.
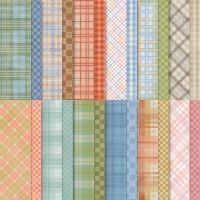
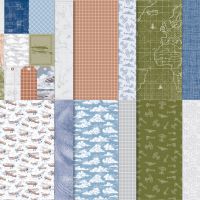
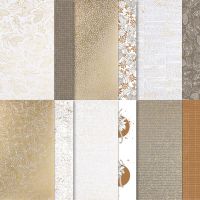
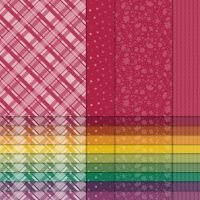
I used a retired DSP (In Good Taste), but any papers of appropriate colours would work. Timeless Plaid, Take to the Sky, Natures Sweetness, or any colour family DSP would work well. One of the reasons I love Stampin’ Up! is that the sheets of paper in a pack all coordinate with each other, making this sort of patchwork card easy!
You will need:
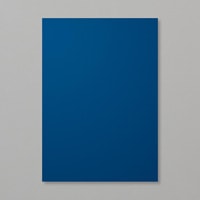
- Night of Navy card base 10.5cm x 29.6cm scored at 14.8cm (11” x 4¼” scored at 5½”)
- Basic White pieces x 2: 10cm x 14.3cm (4” x 5¼”)
- Basic White scrap for sentiment approx. 8cm x 5cm (4″ x 3″)
- Four to six different sheets/scrap pieces of DSP – you need approximately fourteen punched shapes
Fold and burnish the card base.
Punch out one Basic White shape from the scrap of Basic White. Stamp the Happy Birthday sentiment in the middle in Night of Navy ink.
Punch out around 14 shapes, two or three from each sheet/scrap of DSP. Once you have all your pieces punched out, it’s time to make the layout.
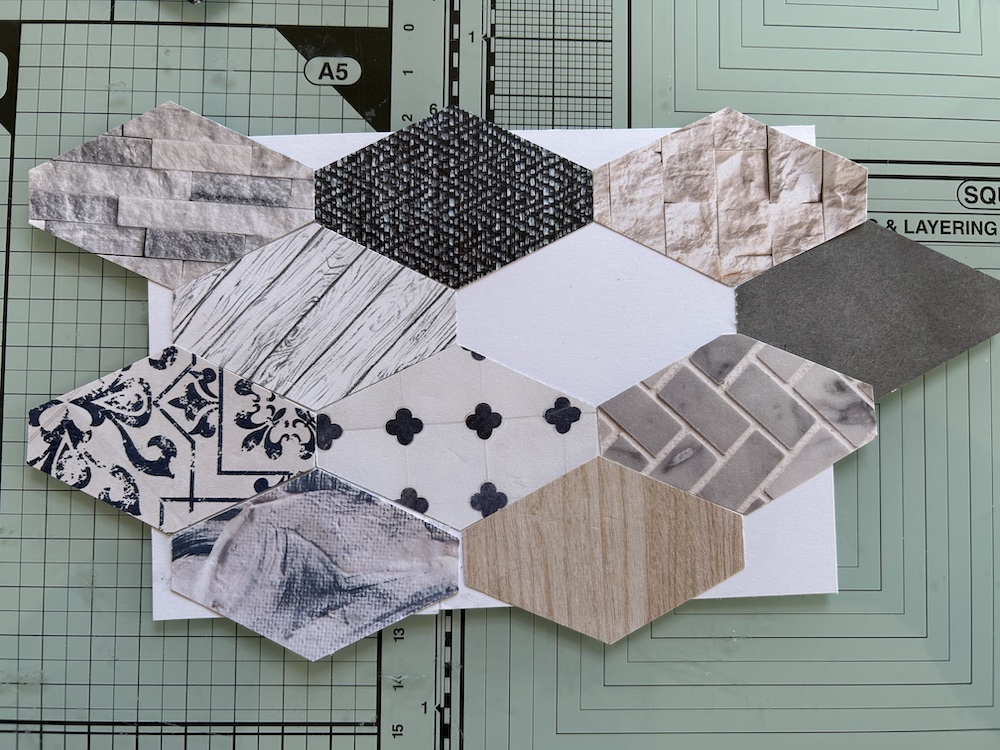
Lay your Basic White sentiment scrap towards the right-hand side around 1/3 of the way down on one piece of Basic White. Then start to arrange the punched out shapes around it as shown in the picture below. THey will overlap the sides, which is exactly what you want.
Once you are happy with the layout, use multipurpose glue to stick them down, being careful to line up the edges so they butt up against each other. Leave the space for the sentiment clear.
Use your snips to trim the spare pieces of punched hexagon from around the card. Use these pieces and any other punched hexagons you need to fill in the gaps that are left from the original layout. Trim as required.
When complete, the layer should look something like this:
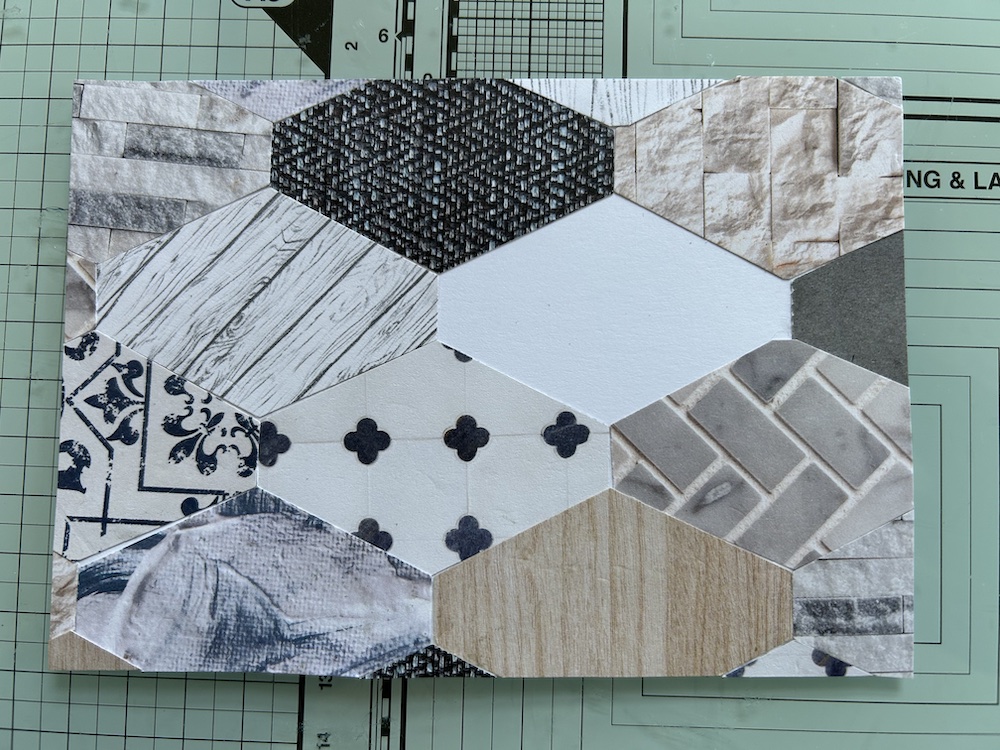
Stick the completed layer to the front of the card. Add the sentiment hexagon to the space left using dimensionals.
Stamp the “Wishing you every Happiness…” sentiment on the second Basic White piece. Glue some part peices of hexagon to the bottom right-hand corner as decoration – see the picture for ideas. Trim, then stick this layer inside the card.
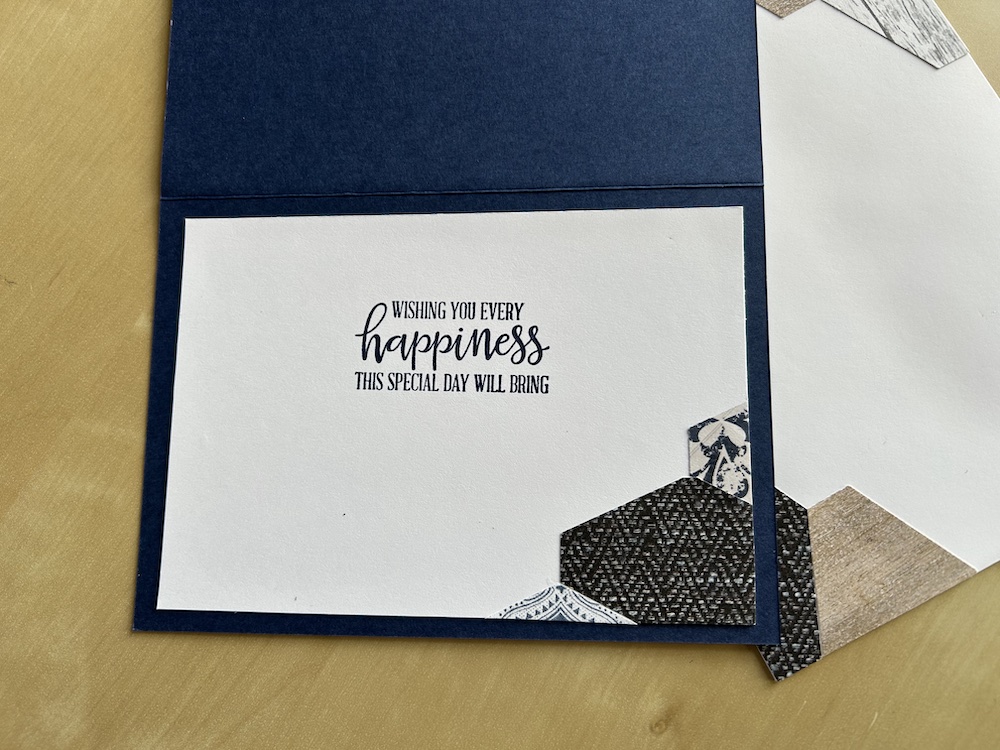
Use any spare pieces of hexagon to decorate your envelope as shown in the pictures.
I hope you like this card and will have a go at making one – please show me what you come up with.
Thank you for taking the time to read my post.

Don’t forget – you get a FREE pdf when you place any order with me as your demonstrator. And, if your order is over £40, you will also get to choose stuff from my online shop to the value of your order!
Product ListDuring Saleabration (7 January to 28 February 2025) there are two fabulous joining options:
– Option 1: Get £130 products for £99 PLUS a bonus stamp set and TWO Stampin’ Write marker packs of your choice (value £220!)
– Option 2: Get £130 products for £99 PLUS an additional £30 of products (value £160!).


