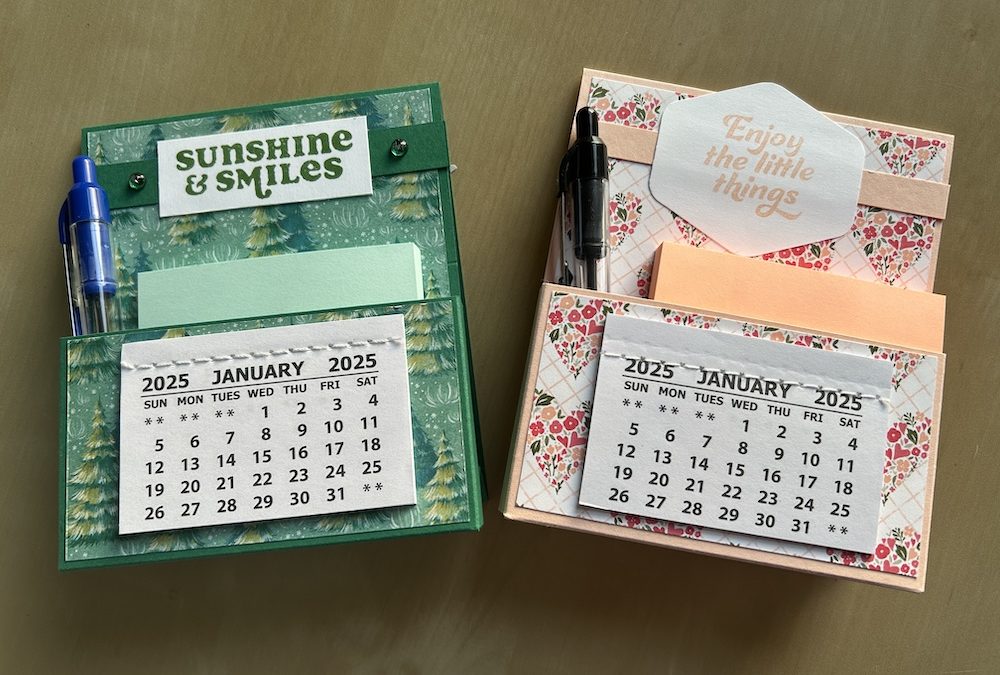
Are you looking for a quick and easy extra small gift to make this Christmas? These stand-alone desk calendars are simple to make and useful for any recipient as they contain a mini pen, post-it note block and 2025 calendar. I bought all these supplies from Amazon at a reasonable price.
We made them at our Craft’n’Chat Christmas party yesterday, along with a sweet-filled Christmas cracker (see blog for next week!) and the teabag holders from Tuesday’s Live and blog. Sign up for my emails and make a New Year’s Resolution to join me on my free Lives and Craftalongs, plus come to my Craft’n’Chat session if you live in this area!
The desk calendar stands on its own as you can see:
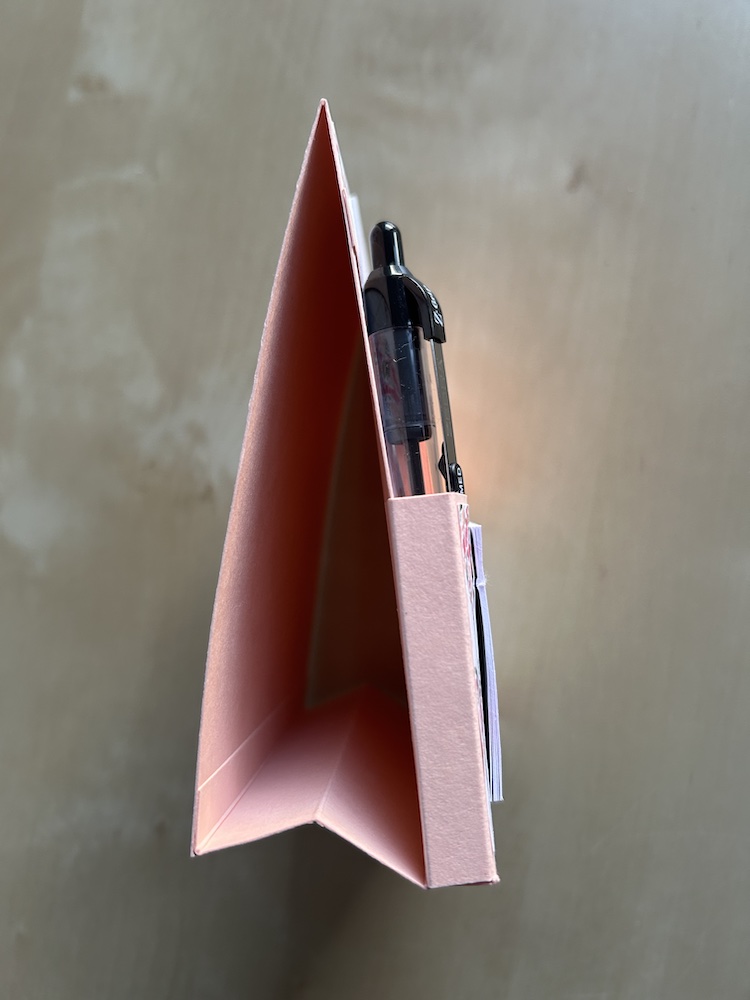
To make this desk calendar you will need:
- Colour cardstock base 10.5cm x 29.6cm (4¼“ x 11”)
- Colour cardstock pocket 14.5cm x 8cm (6¼ “x 3½“)
- Colour cardstock strip 1cm x 10.5cm (3/8″ x 4¼“)
- DSP for base 10cm x 12cm (4” x 4¾”)
- DSP for pocket 10cm x 5.5cm (4” x 2¼“)
- Basic White scrap for sentiment
- Mini pen, 3″ x 3″ post-it note block plus calendar tab
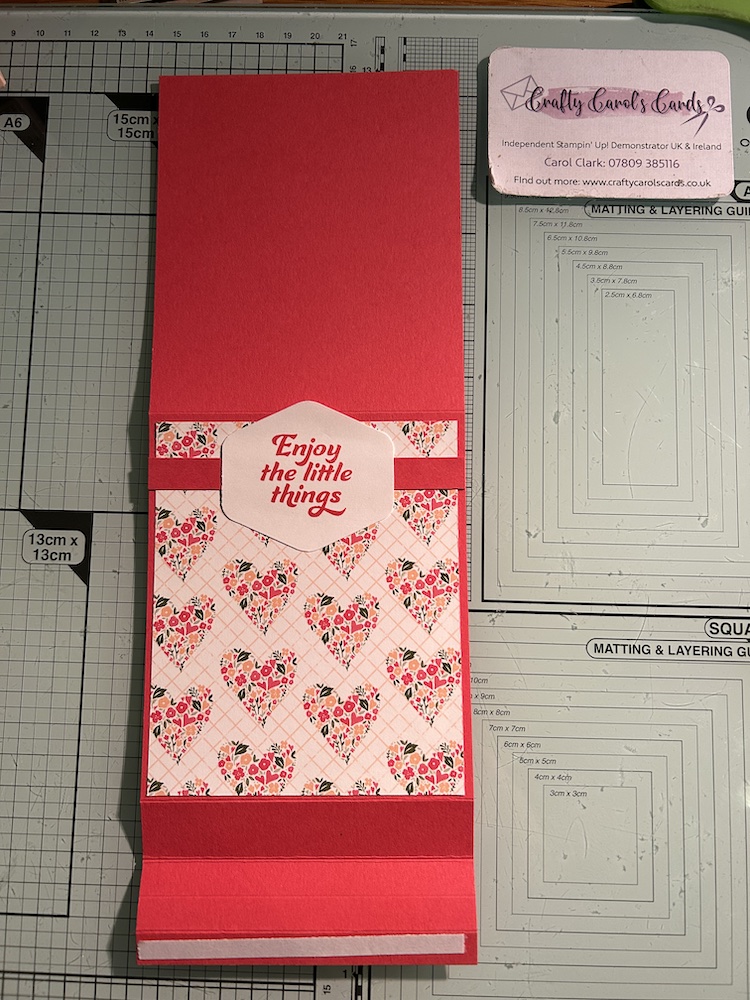
Score the card base on the long side at 1cm, 3cm, 5cm and 17.5cm (½”, 1¼”, 2”, and 7”). Fold all folds as mountain except the second, a valley, and burnish.
Stick the DSP on the first large panel as shown in the picture below. Add the colour cardstock strip across the top.
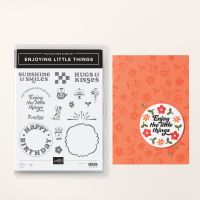
Stamp your chosen sentiment in colour ink to match the cardstock on the scrap of Basic White. I used sentiments from the Enjoying Little Things stamp set.
Punch or cut out the sentiment.
Add the sentiment to the base aligned centrally with the cardstock strip. Use multipurpose glue, NOT dimensionals to allow for the post-it notes to be removed easily.
Add tape to the bottom tab as shown but do not stick together yet!
See the video at the end of this post if you are unsure what to do at any point.
Here is the completed base:
To make the post-it note pocket:
Score the cardstock piece on each short side at 1cm and 2cm (½” and 1”)
Score on ONE long side only at 1cm and 2cm (½” and 1”)
Remove the two squares at each bottom corner (four small scored squares).
Fold all score lines as mountain folds and burnish.
Add the DSP piece to the centre panel. Stick the calendar tab on top.
Add tear & tape to the FRONT bottom strip.
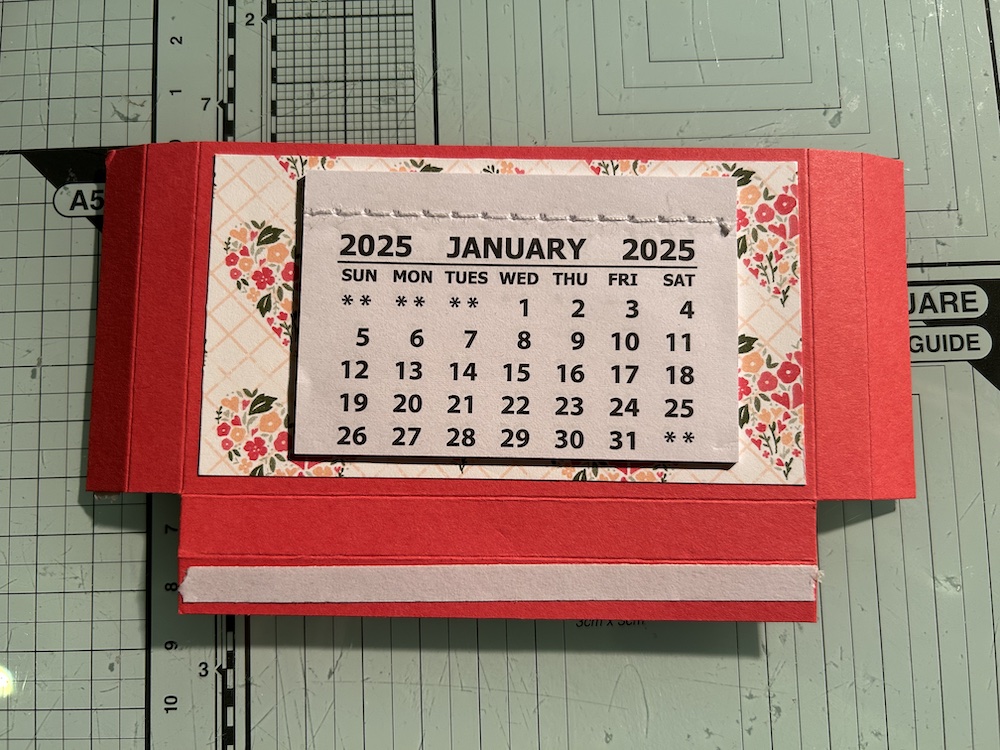
Turn the pocket over to add tear & tape to the two side strips as shown.
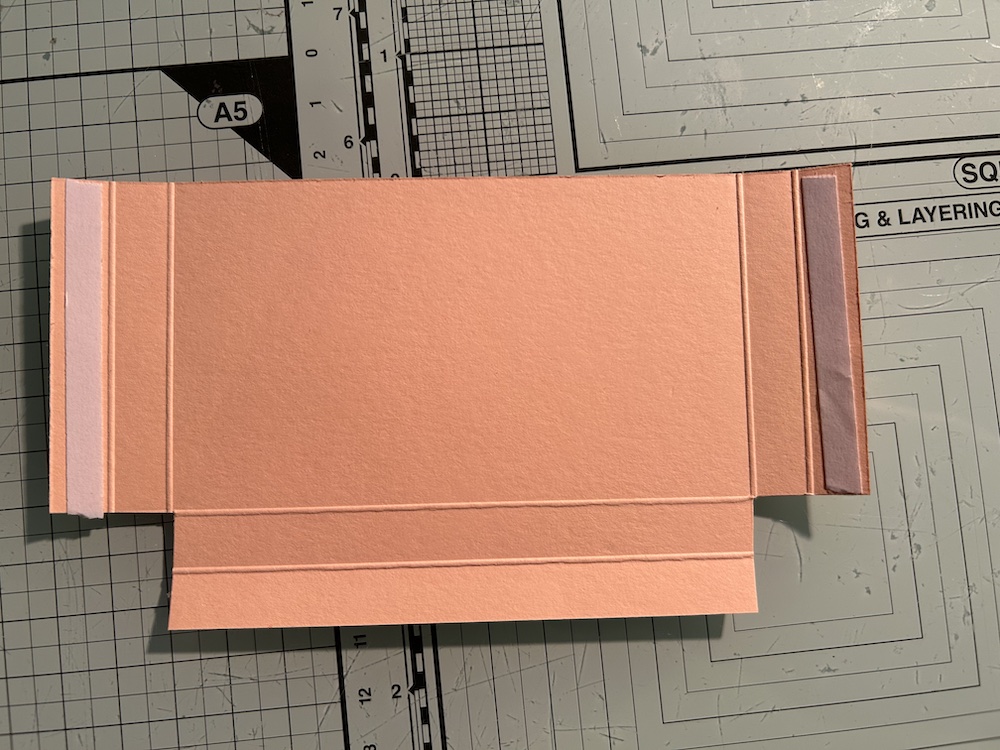
Carefully stick the first side tab to the back of the DSP covered panel on the base, making sure to line it up with the bottom fold of that panel. See the video if you are unsure.
Stick the second side tab to the base on the other side.
Remove the cover from the base tab piece. Carefully slide it inside the base to line up with the bottom main panel fold and stick it down. It is helpful to use your bone folder to press it down from inside the pocket.
Complete the desk calendar by carefully sticking the previously taped main bottom tab to the back of the base. Note that it deliberately does not fold to fit flat, allowing it to stand solidly on a desk.
Add your post-it note block and pen and your desk calendar is complete.
Here is the video of how to make it:
Thank you for taking the time to read my post.

Don’t forget – you get a FREE tutorial of eight cards when you place an order with me. There’s a different set every month. And, if your order is over £40, you will also get to choose stuff from my online shop to the value of your order!
Product List
