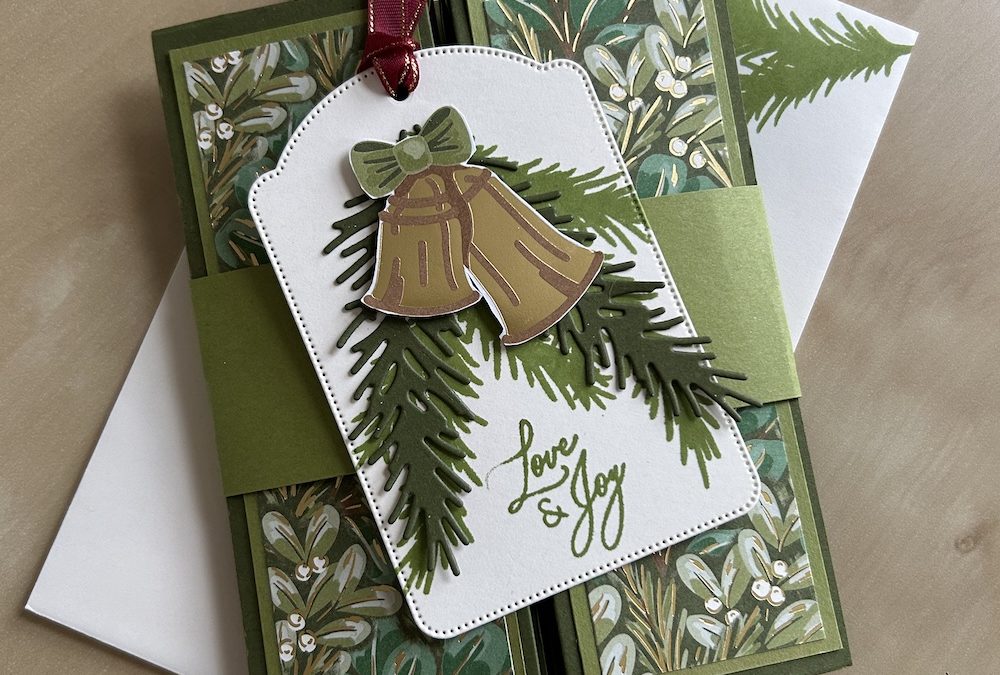
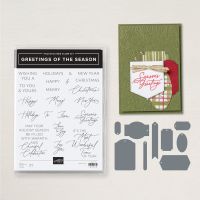
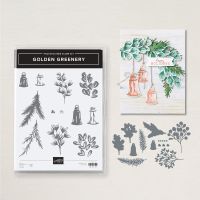
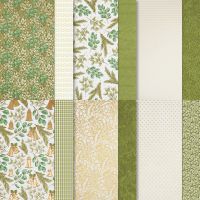
Thanks to the lovely Tami White for this lovely fun box fold card project. It uses my favourite DSP this year, the Season of Green and Gold DSP and two bundles (stamp sets and accompanying dies), Greetings of the Season and Golden Greenery. You could make this card with any DSP, of course, just choose your cardstock and ink to compliment the chosen DSP colours.
The box fold card can hold a gift card, voucher or money gift.
I’ve made a video (below) on how to make this box fold card, which you can see below, and I’ve also given the measurements and instructions in both cm (UK) and inches (US size).
You will need:
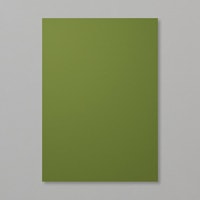
- Mossy Meadow cardstock base 21cm x 25.5cm (8½” x 10″) plus scrap for die-cutting fronds
- Old Olive cardsrtock panels x 2: 4.5cm x 12.5cm (1¾” x 5¼”)
- Old Olive csrdstock 4cm x 25.5cm (1½” x 10″) for belly band
- DSP for box centre 7cm x 12.5cm (2¾” x 5¼”)
- DSP for panels x2: 4cm x 12cm (1 5/8″ x 5 1/8″)
- Very Vanilla cardstock back panel: 7cm x 12.5cm (2¾” x 5¼”)
- Very Vanilla piece approx 8cm x 11cm (3¼” x 4¼”) for large tag die-cut
- Very Vanilla scrap for small oval sentiment tag die-cut
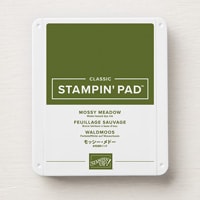
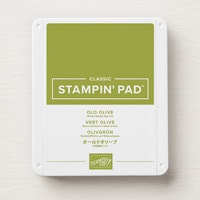
- Mossy Meadow and Old Olive ink pads
Instructions:
Die-cut the large tag and the small oval tag from Greetings of the Season dies. Die-cut two small pine fronds (Golden Greenery dies) in Mossy Meadow. Fussy cut the two bells together image from the Season of Green and Gold DSP. (Alternatively, stamp two bells, colour and die cut out.)
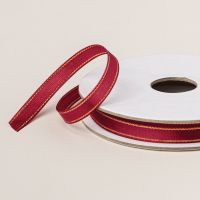
Stamp two leaf fronds in Old Olive onto the large tag as shown. Add a sentiment in Old Olive or Mossy Meadow at the bottom. Adhere the two die-cut fronds using liquid glue. Add the cut out bells using dimensionals. Finish the tag with a 15cm (6″) length of Cherry Cobbler and gold ribbon.
Stamp the Seasons Greeting sentiment in Old Olive onto the small oval tag. Stamp a sentiment onto the back panel piece, if required, in one of the green inks.
Adhere the DSP panels to the Old Olive panels.
Now score your box fold card base piece. I’ve used inches for this, as I prefer to use my Simply Scored board. Score the long side at 2″, 3½”, 6½” and 8″. Turn through 90 degrees and score the short side at 1½” and 6¾” (US 1½” and 7″).
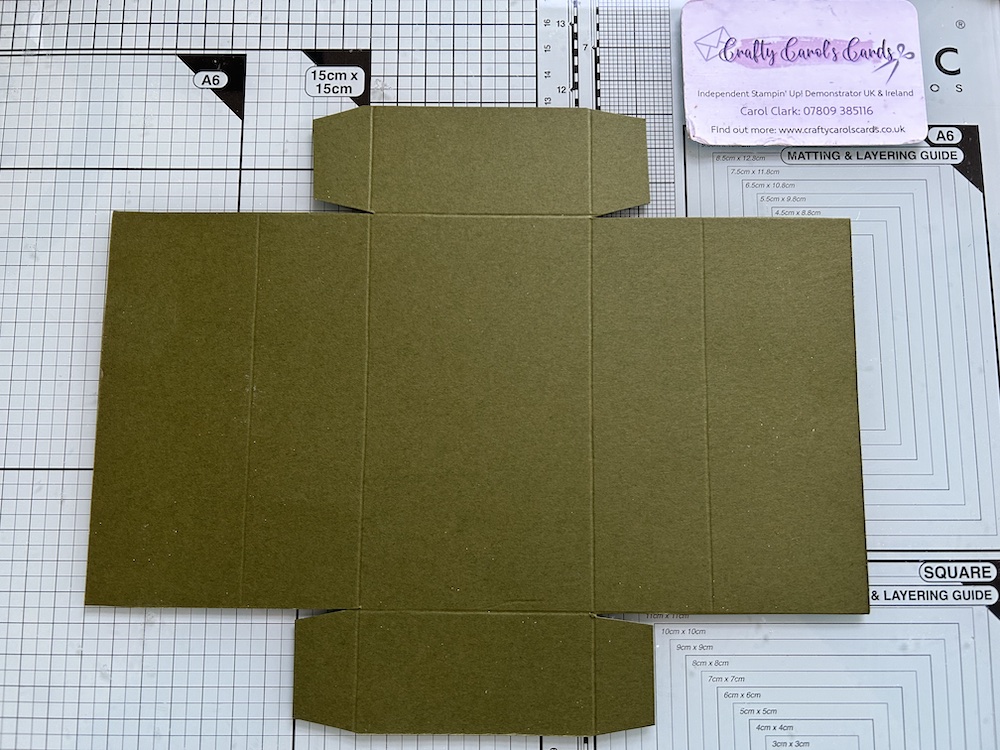
Cut off each corner panel. Cut the next panel along in half and form into a tab. The finished cuts should look like this:
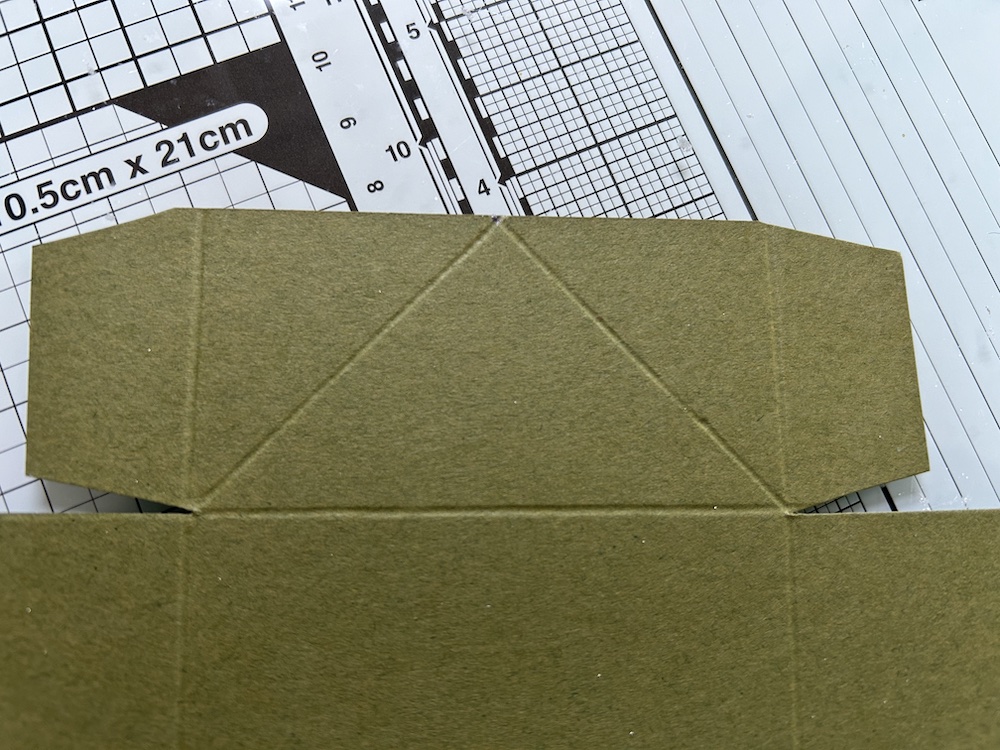
Now take a ruler and measure halfway (1½”) along the remaining top and bottom centre panels. These will form the “box” – see the video if you are unsure about this. Use your stylus on your silicone mat to score from the inner corner to this centre mark on each side. They should look like this:
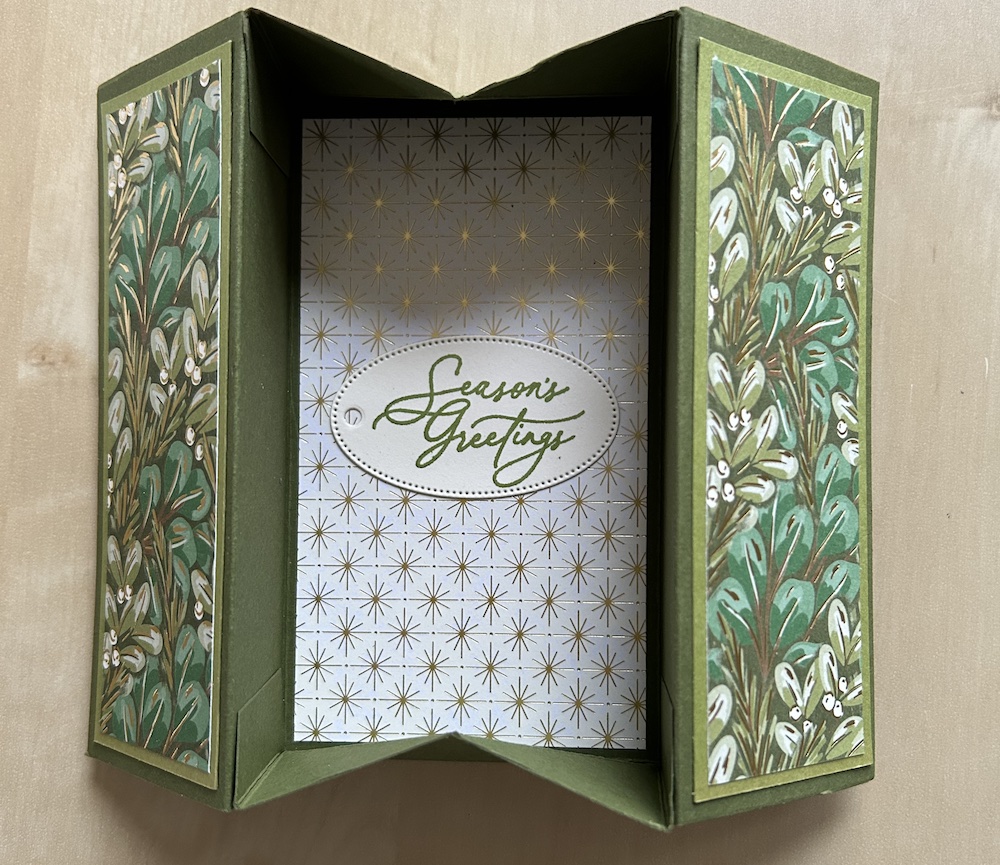
Fold all score lines. The side panels fold in then out. For the top and bottom panels, fold the whole panel inwards then bring each side back to the outside again, so you have a “point” pointing into the card. The tabs that will form the box card then fold upwards. Please see the video below if you are unsure about these folds.
Before continuing to make the box, adhere the centre panel DSP on the centre panel of the box card. Stick the greeting panel on the corresponding reverse of your card. Add the oval sentiment to the centre of the DSP panel.
This next stage of the box fold card is a little fiddly- it helps to have three hands! Add liquid glue to each tab. Fold the side panels over and stick them down to the tabs in turn. Hold them for a few seconds to ensure the glue binds well. You have made your box fold card.
To finish the box fold card, stick the completed side panels to each side front on the box fold card base.
Use the long piece of Old Olive to wrap loosely around the card to form a belly band. Use Stampin Seal or Tear & tape to stick it together firmly, overlapping at the front of your card. Add more Seal or tear & tape across the centre of the front panel and add your completed large tag.
And there you have your completed box fold card. Don’t forget to decorate your envelope.
Here is the box fold card opened:
Here is my video of how to make this fun box fold card:
Thanks again for the idea Tami!
I hope you like this card and will have a go at making one – please show me what you come up with.
Thank you for taking the time to read my post.

Don’t forget – you get a FREE pdf when you place any order with me as your demonstrator. And, if your order is over £40, you will also get to choose stuff from my online shop to the value of your order!
Product List
