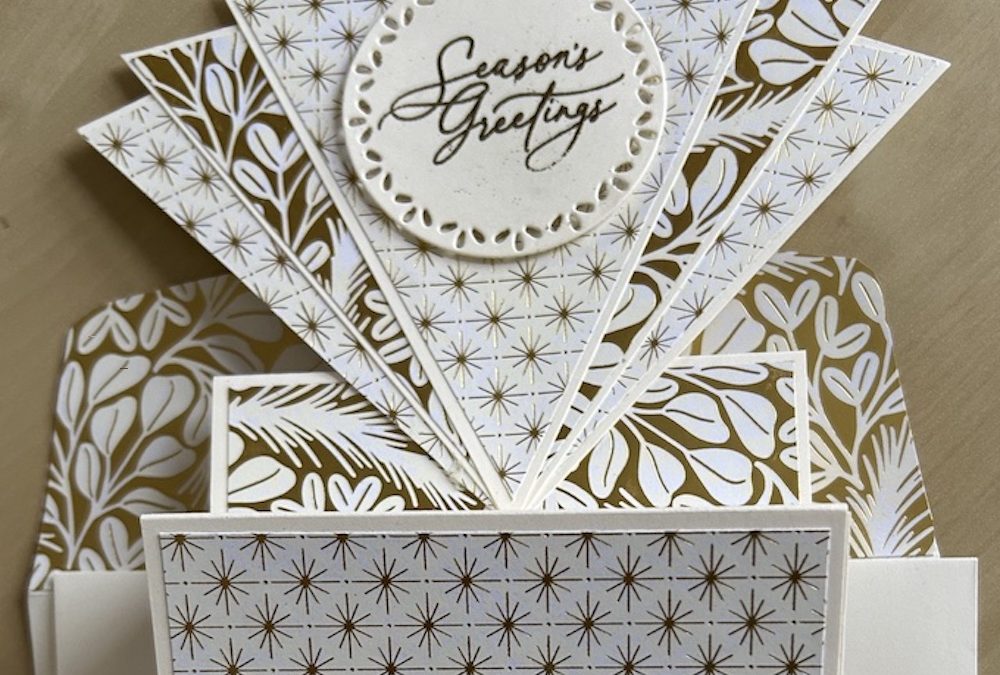
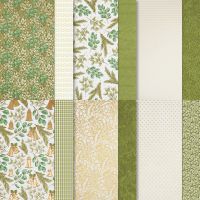
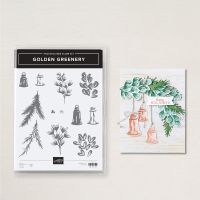
The gorgeous Season of Green and Gold suite lends itself to making this wow fun fold fan card, which sits proudly on its own base. I first saw a fan card made by the lovely Liz Shannon. I’ve worked out the measurements in centimetres for those who prefer it (like me!).
It is far easier to make than it looks – you just need to be careful about how far you spread the “fan” and how high you position the greeting panel if you want it to fit the normal C5 envelope.
Choose the colour cardstock to match whatever DSP you want to use. I made one with Mossy Meadow cardstock and the one on the video with Very Vanilla.
Here is a close up of the fan card:
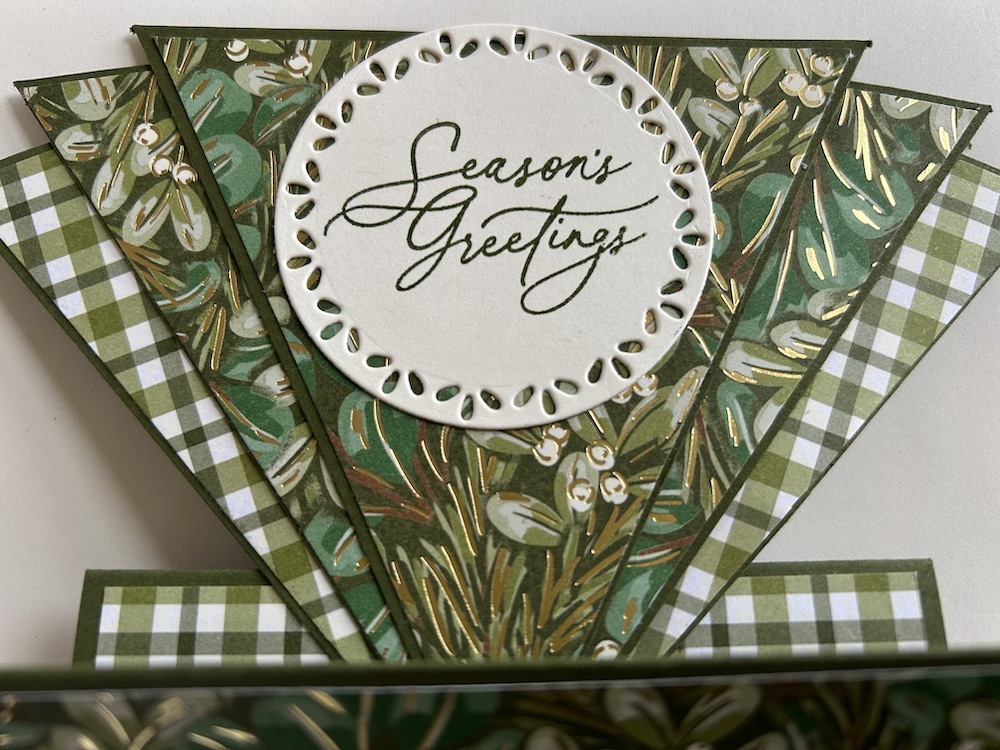
The measurements and instructions are below, and/or watch the video to see how to make the card.
To make this card you need:
- Colour cardstock Fan piece 1: 10cm x 10cm (4″ X 4″)
- Colour cardstock Fan piece 2: 10cm x 8cm (4″ X 3″)
- DSP for fan 1: 9.4cm x 9.4cm (3 ½” X 3 ½”)
- DSP for fan 2: 9.4cm x 7.4cm (3 ½” X 2 ½”)
- Colour cardstock Fan Base 18cm x 10cm (6″ X 4”)
- Extra base piece to add weight & stability 12cm x 10cm (4″ X 4”)
- DSP (x3-4) for base 9.5cm x 2.5cm (3 ¾” X ¾”)
- Punched or die-cut circles approx 2″ and 2 3/8″ for sentiment and greeting
Mark fan piece 1 with a pencil at 5cm (2”) and draw guidelines from this mark to each top corner. Use a trimmer to cut along these guidelines. Erase pencil marks and retain all three pieces.
Mark fan piece 2 with a pencil at 4cm (1.5”) on the short side and draw guidelines from this mark to each top corner. Use a trimmer to cut along these guidelines and erase pencil marks.
DSP for fan 1: mark at 4.7cm (1 ¾) and cut with trimmer.
DSP for fan 2: mark at 3.7cm (1 ¼) on the short side and cut with trimmer.
Stick the matching pieces of DSP to the five fan panels. (Don’t do what I did in the video to try and save DSP – the easiest way to get alternating patterns on your fan pieces is to cut TWO sets of the fan 1 DSP in the two patterns – keep life simple, then you’ll have the opposite bits for a second fan card!)
Stick the two side panels from piece 1 to the back of the centre triangle piece, lining up the edge with the top of the triangle piece – see the video if you are not sure. Add the two smaller side panels in the same way. Measure the piece to make sure it is not more than 6″ wide so that it will fit in the envelope.
Stick the spare smaller triangle on the back – it should fit nicely between the two widest panels and adds depth to the back so that your greeting circle will stick on nicely.
Fan Base: score at 3cm, 6cm, 9cm, 12cm and 15cm (1″ 2″ 3″ 4″ & 5”)
Extra base piece: score at 3cm, 6cm, and 9cm (1″ 2″ & 3″)
Fold each base piece as an accordion fold (mountain then valley)- see the video if you are not sure. Add the DSP to the first, third and fifth panel (the ones pointing forwards when it stands up).
Mark the centre base support at the bottom at 5cm (2″). Place the completed fan against the base and use a pencil to mark the back – again, see the video if you are not sure. Add tear & tape below this line and stick the fan firmly in place.
Stick the outside extra base piece to the inside of the front and the back of the main base piece to provide stability and allow the fan to stand up.
Decorate the envelope with DSP across the back flap as shown on the video.
Stamp your greeting on the smaller circle and add to your fan – make sure it does not stick up over the top too much or it will not fit the envelope.
Stick the larger circle on the back to allow for a written greeting as shown below:
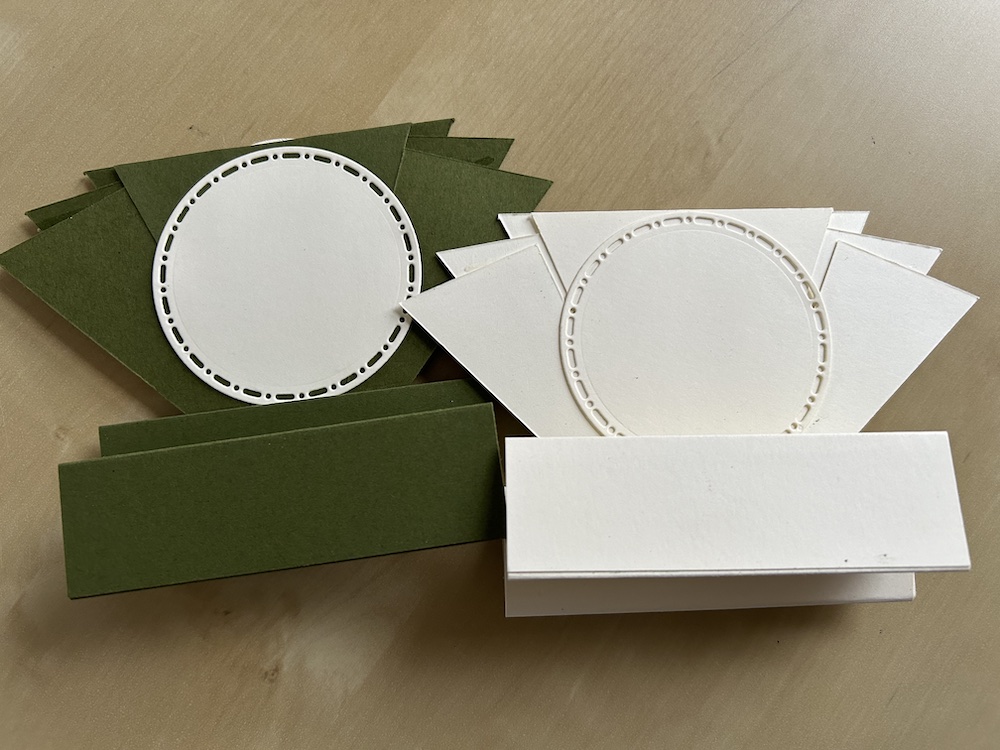
Here is the video from my LIVE to show how I made this fun fold fan card:
I hope you like this card and will have a go at making one – please show me what you come up with.
Thank you for taking the time to read my post.

Don’t forget – you get a FREE pdf when you place any order with me as your demonstrator. And, if your order is over £40, you will also get to choose stuff from my online shop to the value of your order!
Product List
