For week 3 video for my 12 weeks of Christmas, I’m giving you ideas for how to use vellum to make a variety of different Christmas cards. I have done a blog post and video before on five ways to use vellum – you can find that in my blog post from November 2023!
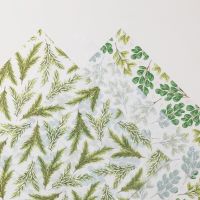
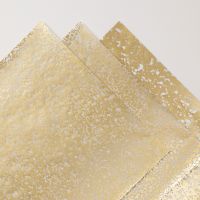
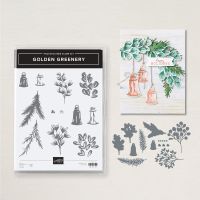
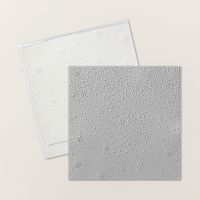
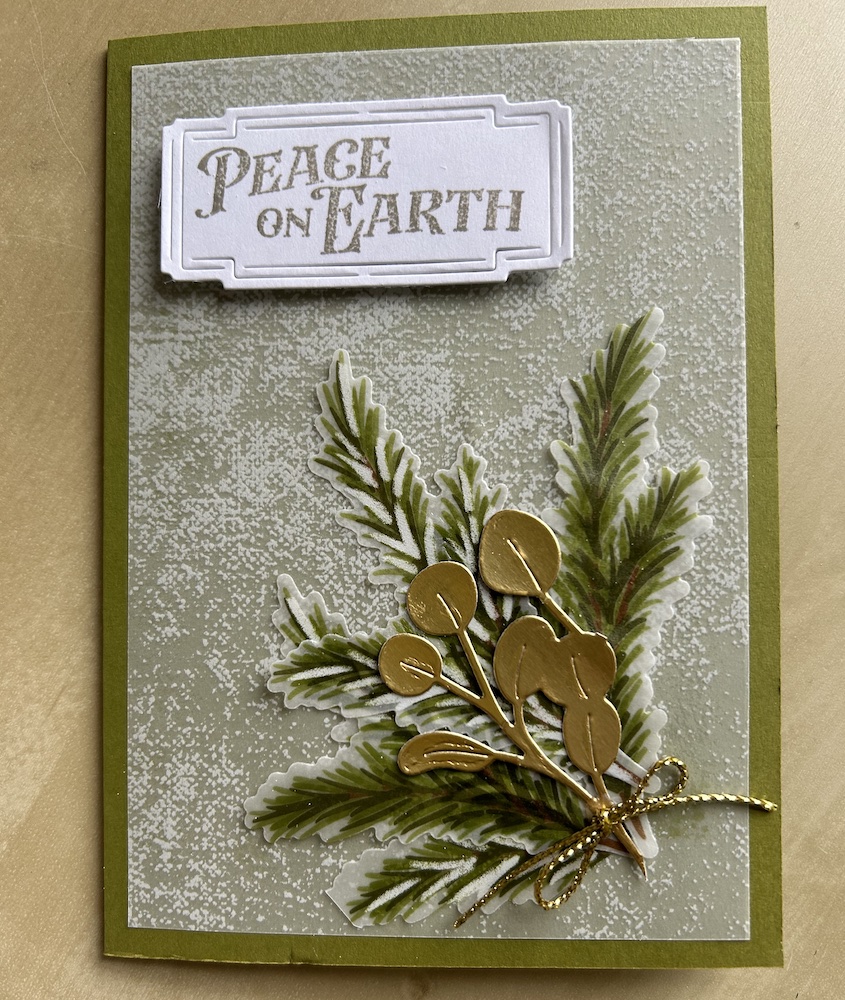
Although Stampin; Up! no longer sells plain vellum, it is easily available from other craft outlets. Stampin’ Up! do, however, still produce two beautiful specialty vellums which I have listed in the products at the end of this blog. I’ve used the gorgeous Graceful Greenery vellum for two of the cards. it has the brilliant benefit that you can cut out the images using the Golden Greenery dies!
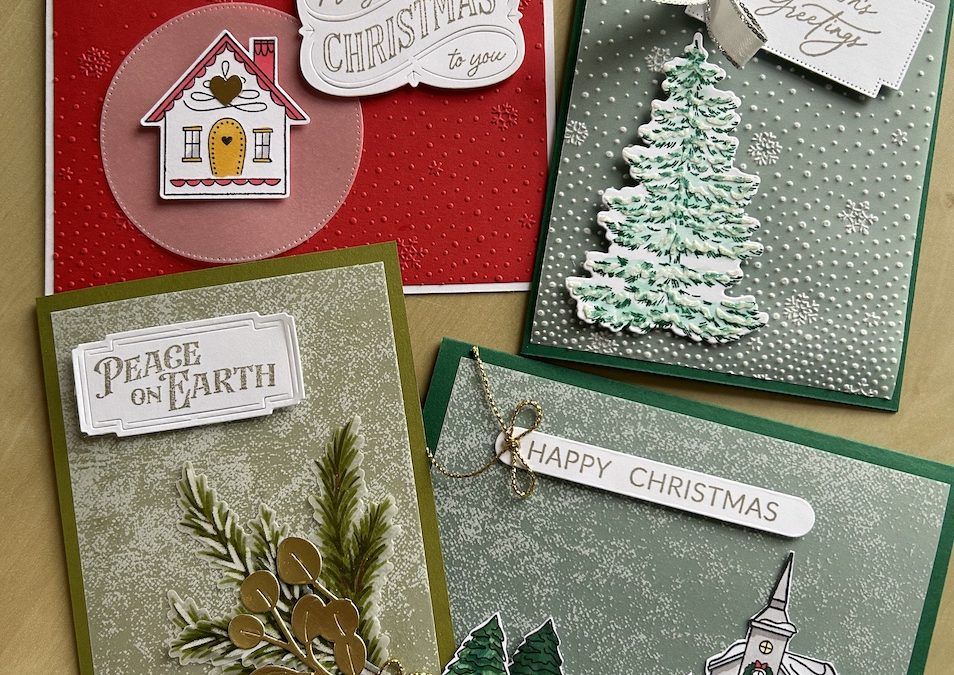
I’ve used various techniques – a simple vellum circle to highlight an image, embossing a vellum background, heat embossing vellum and using specialty DSP vellum. You can find the measuerments and instructions for each card below.
The biggest hurdle to using vellum can be how to stick it down. Liquid glue, tape and glue dots can all show through, so here are my tips for sticking down vellum:
- Add glue or tape only behind where an image will cover it (eg the house card)
- Add glue behind areas of embossing (eg the Snowflake Sky embossed card)
- Add glue behind opaque areas (eg the flocked vellum card)
- Add a drop of glue to a silicone mat, pick up with a sponge and dab it onto vellum. This adds stickability without the glue showing through
Watch the video to see all my tips.
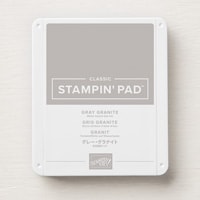
I’ve used Gray Granite ink for all my sentiments as it suits the vellum cards better – Memento is too stark. And please don’t forget to decorate the inside of your cards and the envelopes!
Card 1: Golden Greenery card
You will need:
- Old Olive cardstock 21cm x 14.8cm scored at 10.5cm (8½” x 5½” scored at 4¼”)
- (Snow) Graceful Greenery vellum 10cm x 14.3cm (4” x 5¼”)
- Frond Graceful Greenery vellum to die cut 3-4 fronds
- Basic White 9.5cm x 13.8cm (3¾” x 5”) for inside the card
- Scrap of Basic White for sentiment
- Scrap of gold foil
- Gold trim
Fold and burnish the base card.
Add a blob of liquid glue to a silicone craft sheet. Use a small sponge to pick it up and dab onto the reverse of the snow vellum around the edge. Make sure there are no obvious blobs of glue visible. Stick the vellum to the card front.
Die cut several fronds of greenery from the vellum using the appropriate Golden Greenery die. Die cut a sprig from gold foil and trim – the whole one will be too big.
Add the fronds and sprig to the bottom of the card using liquid glue. Press and hold each one firmly for a short while to ensure they stick.
Tie a small bow in gold trim and add using a glue dot.
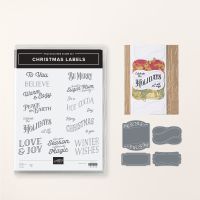
Stamp the Christmas Labels sentiment in Gray Granite and die-cut using the matching die. Add to the card using dimensionals.
Stamp a greeting on the Basic White panel and stick inside your card.
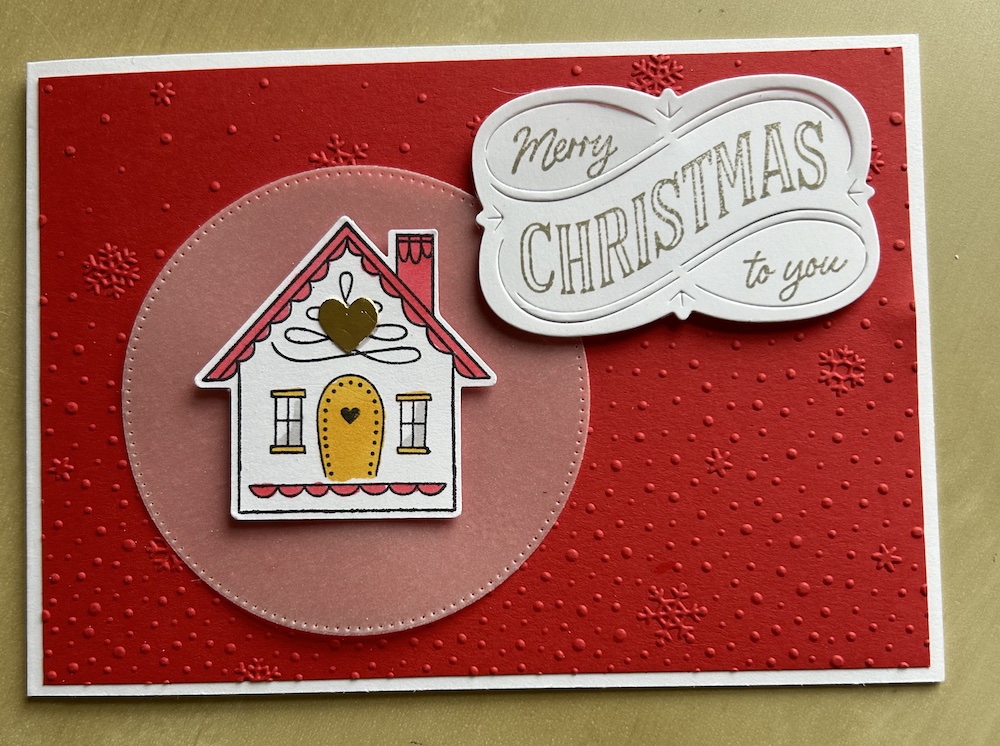
Card 2: Using vellum to highlight an image
You will need:
- Thick Basic White cardstock 10.5cm x 29.6cmScored at 14.8cm (11” x 4¼”scored at 5½”)
- Poppy Parade panel 10cm x 14.3cm (4” x 5¼”)
- Plain Vellum approx 8cm (3½”) square
- Scaps for stamping and sentiment
Fold and burnish the base cardstock. Emboss the Poppy Parade panel using the Snowflake Sky embossing folder. Stick to the card front.
Die-cut a circle of vellum using the largest Stitched Shape die. Add glue in teh ve==centre behind where the image will sit and stick to the left of the card front.
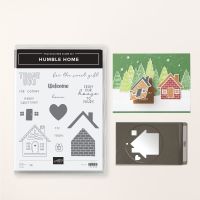
Stamp the Humble Home house image in Memento and colour using blends. Punch it out. Add a heart in gold foil if you want! Stick to the centre of the vellum circle using dimensionals.
Stamp the Christmas Labels sentiment in Gray Granite and die-cut using the matching die. Add to the card using dimensionals.
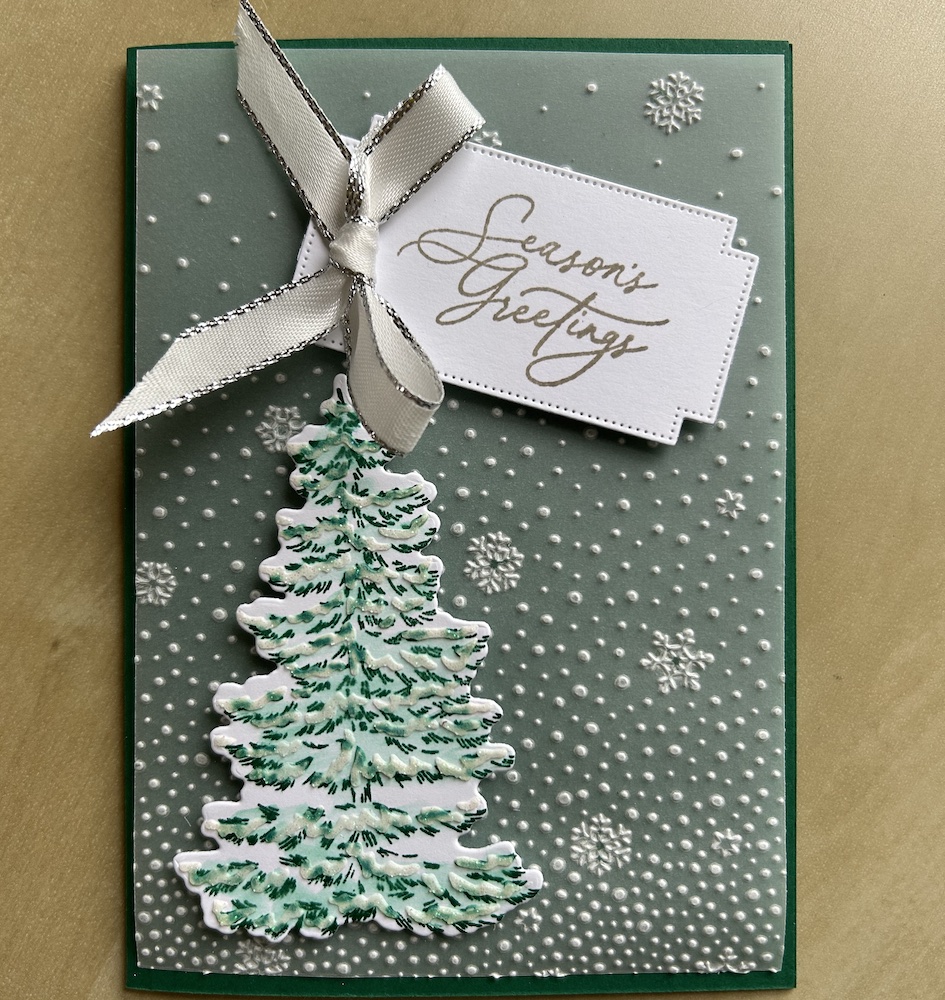
Card 3: Season Greetings card
You will need:
- Shaded Spruce cardstock 21cm x 14.8cm scored at 10.5cm (8½” x 5½” scored at 4¼”)
- Plain vellum 10cm x 14.3cm (4” x 5¼”)
- Suitable image for the front of the card
- Basic White 9.5cm x 13.8cm (3¾” x 5”) for inside the card
- Scrap of Basic White for sentiment
- Silver and White sheer ribbon
Emboss the vellum using the Snowflake Sky embossing folder. Add glue dots behind every separate solid snowflake and stick to the card front.
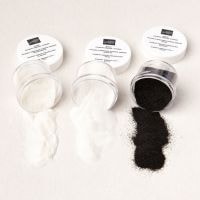
Stamp and colour your image – I used a Frosted Forest tree with added shimmer embossing paste left over from my Tuesday Live – then add to the card front using dimensionals.
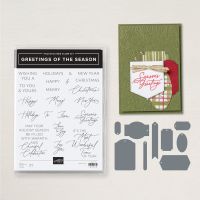
Stamp the Greetings of the Season sentiment in Gray Granite and use an appropriate die to cut it out. Add using dimensionals.
Tie a bow in the silver and white ribbon and add using a glue dot.
Complete the card inner and decorate your envelope.
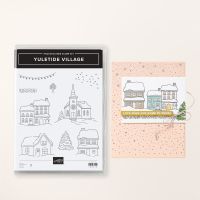
Card 4: Yuletide village card
You will need:
- Shaded Spruce cardstock 21cm x 14.8cm scored at 10.5cm (8½” x 5½” scored at 4¼”)
- (Snow) Graceful Greenery vellum 10cm x 14.3cm (4” x 5¼”)
- Basic White approx 13cm x 7cm (5″ x 3″) for stamping
- Basic White 9.5cm x 13.8cm (3¾” x 5”) for inside the card
- Scrap of Basic White for sentiment
- Gold or silver trim
Add a blob of liquid glue to a silicone craft sheet. Use a small sponge to pick it up and dab onto the reverse of the snow vellum around the edge. Make sure there are no obvious blobs of glue visible. Stick the vellum to the card front.
Stamp the the church and two trees in Memento on Basic White. Colour using Stampin’ Blends. Fussy cut the church adding a strip of further white card as “snow” and cut out the two trees.
Stick the church to the right hand bottom of the card using liquid glue. Add the two trees using dimensionals.
Stamp the Greetings of the Season sentiment in Gray Granite and use the long thin die to cut it out. Add using dimensionals.
Tie a small bow in gold trim and add to the sentiment using a glue dot.
Complete the card inner and decorate your envelope.
Here si the video to show how all these cards were made:
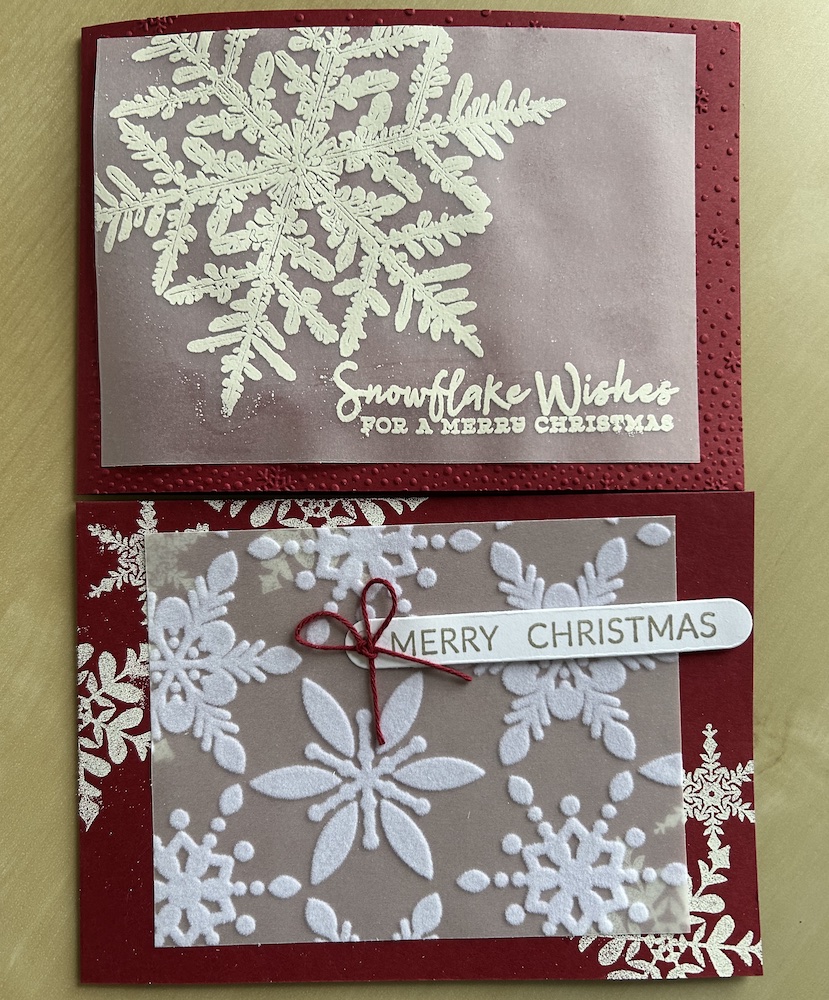
I also made two further cards using Cherry Cobbler cardstock as the base card. These use some old stamp sets but the ideas can be used with any similar stamp sets you have.
The first card used the Snow Crystal stamp embossed in white directly onto a 10cm x 14.3cm (4” x 5¼”) piece of plain vellum together with a sentiment, stuck onto a Snowflake Sky embossed card front.
The second card used some retired flocked vellum (11cm x 9cm, 3¾” x 4½”) as the centrepiece, added on top of some white embossed snowflakes on the base card.
Watch the video to see more!
I hope you like this card and will have a go at making one – please show me what you come up with.
Thank you for taking the time to read my post.

Don’t forget – you get a FREE pdf when you place any order with me as your demonstrator. And, if your order is over £40, you will also get to choose stuff from my online shop to the value of your order!
Product List
