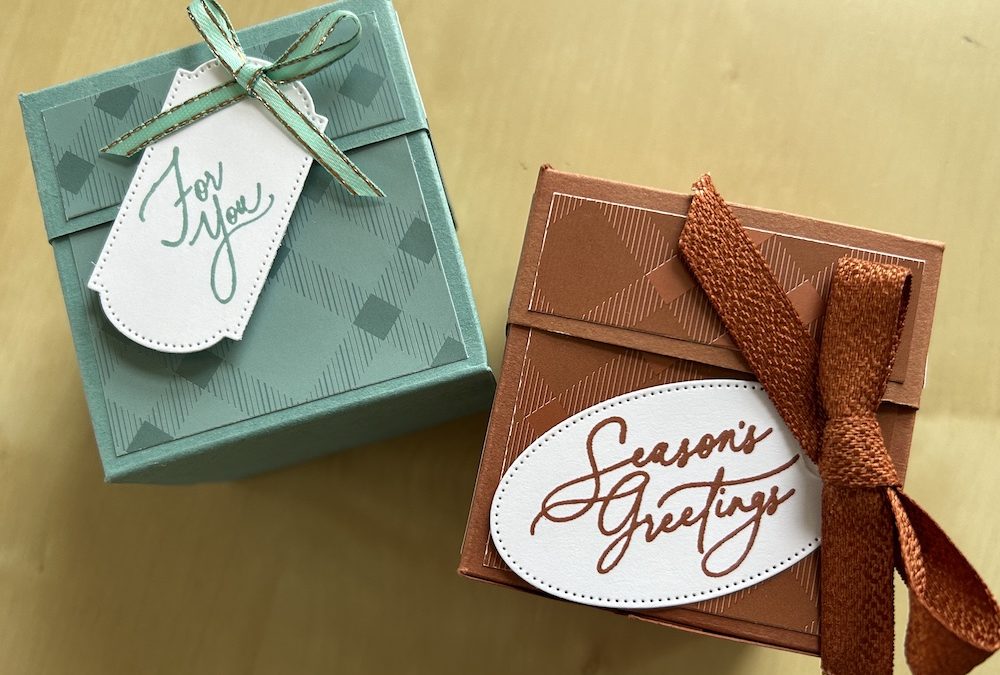
It’s week 2 of my 12 weeks of Christmas and I wanted to add a bit of wonder by making an all-in-one magic lid box. It really will wow any recipient. The finished box is 3×3″ square so can fit a variety of small gifts. They also make great table favours which is probably how I will use mine! I CASE’d this box from a video I saw on Ruth’s Stamping Corner some years ago, though I’ve added my own twist, too.
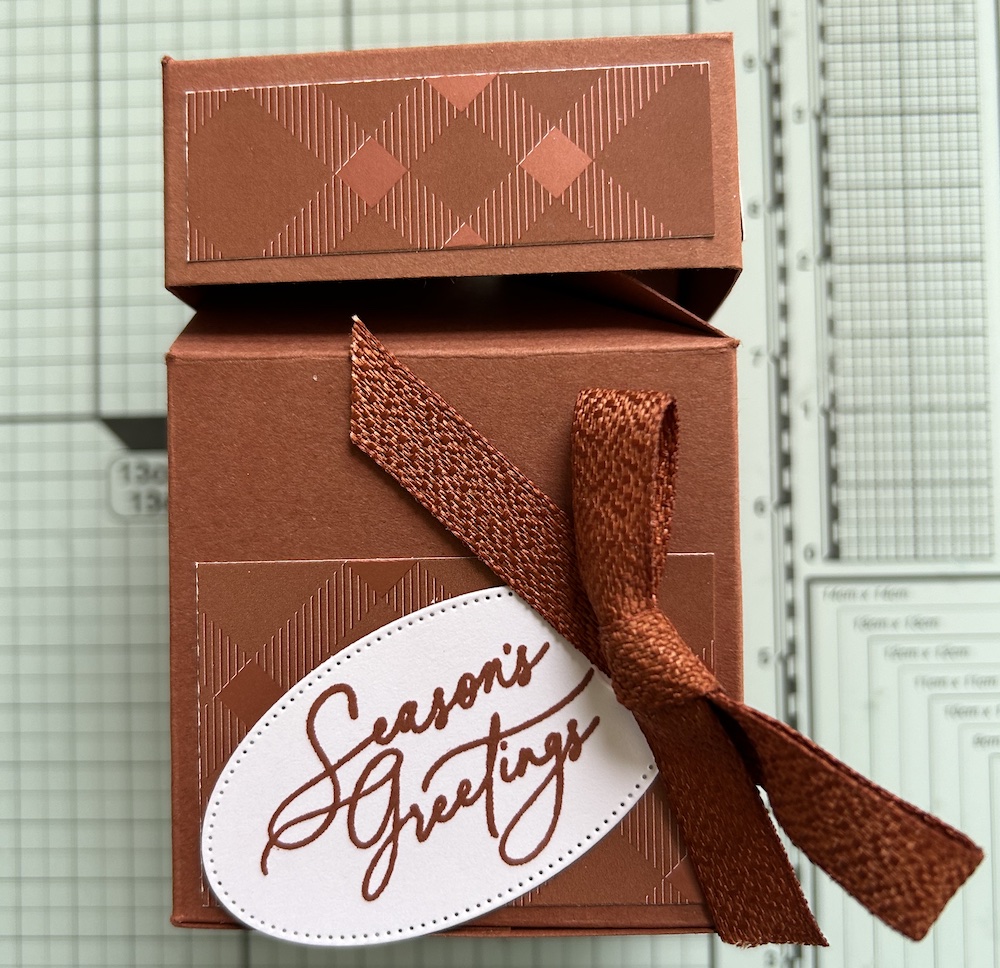
The lid is made all-in-one with the rest of the box and pulls up to open – read on to find out how to make it.
I’ve used the gorgeous Tartan Foil Specialty DSP and matching cardstock for my boxes but you could use any DSP and matching colour cardstock you wish. My prototype in the pictures was made with Copper Clay. In the video I used Lost Lagoon.
Just a note – you can use a trimmer to make all the score lines, but it is far easier to use the Simply Scored tool. I would not be without mine.
To make the box you need:
- Colour cardstock (to match your DSP): 7½ ” x 10½ “
- DSP panels (x4): 1½” x 2¼ ”
- DSP panels (x4): ¾” x 2¼”
- DSP panel: 2 1/8” x 2 1/8”
- Scrap of Basic White for senitment
- Ribbon to decorate
The products I used are given at the end of this post.
The scoring and cutting for the magic lid box are a bit complicated. You might find it easiest to watch the video and follow along, but the instructions are below if you prefer – with plenty of pictures!
Instructions
Take your card base and your Simply Scored scoreboard. On the SHORT side score at 1½”, 4″, 5 ¼” and 6½”.
Turn the cardstock through 90o so that the 1½“ score line is at the bottom.
Score the LONG side (with the 1 ½ ” section on the bottom) at 2½”, 5″, 7½” and 10″.
Now fold the top of the card FORWARD at the SECOND horizontal score line from the top.
Use the scoreboard to make marks on the LONG side at 1 1/4″, 3 3/4″, 6 1/4″ and 8 3/4″.
You have now finished with your Simply Scored scoreboard!
Without opening the fold, and cutting through TWO layers of card at once, cut diagonally from each mark to the next score line (where the score lines cross), then cut down the vertical score line where necessary – the final cut takes off the final corner completely as shown in the picture below:
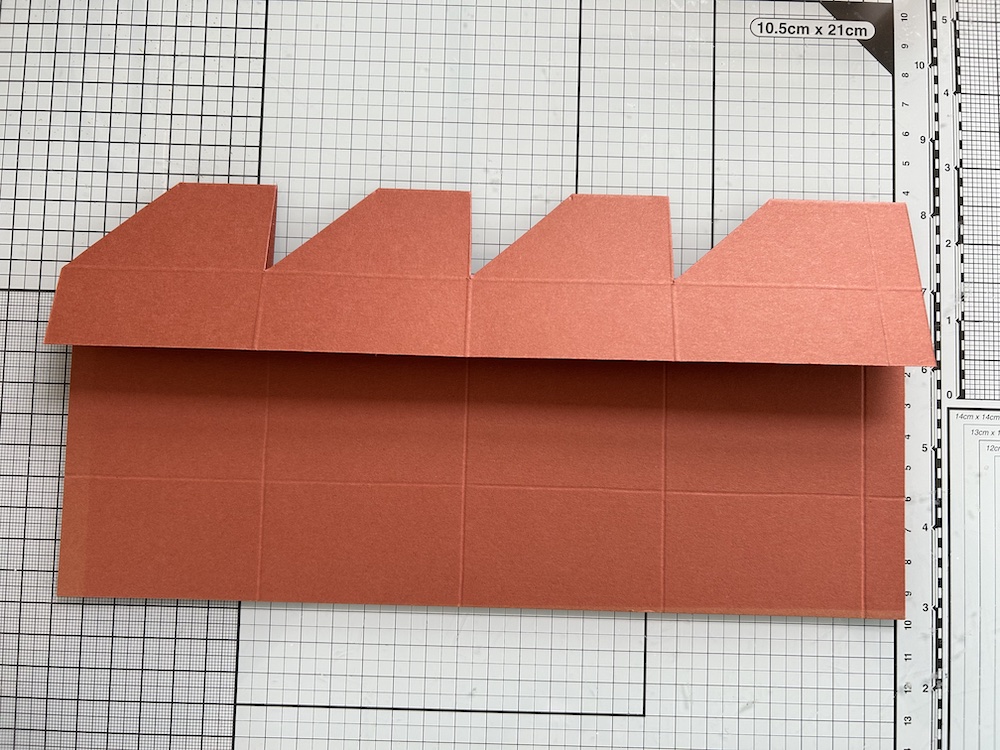
Open out the cardstock and cut out the side tab and the tab at the bottom.
Finally, cut up the bottom vertical score lines. It should look like this (though the vertical score line cuts are not easily seen in this picture!!):
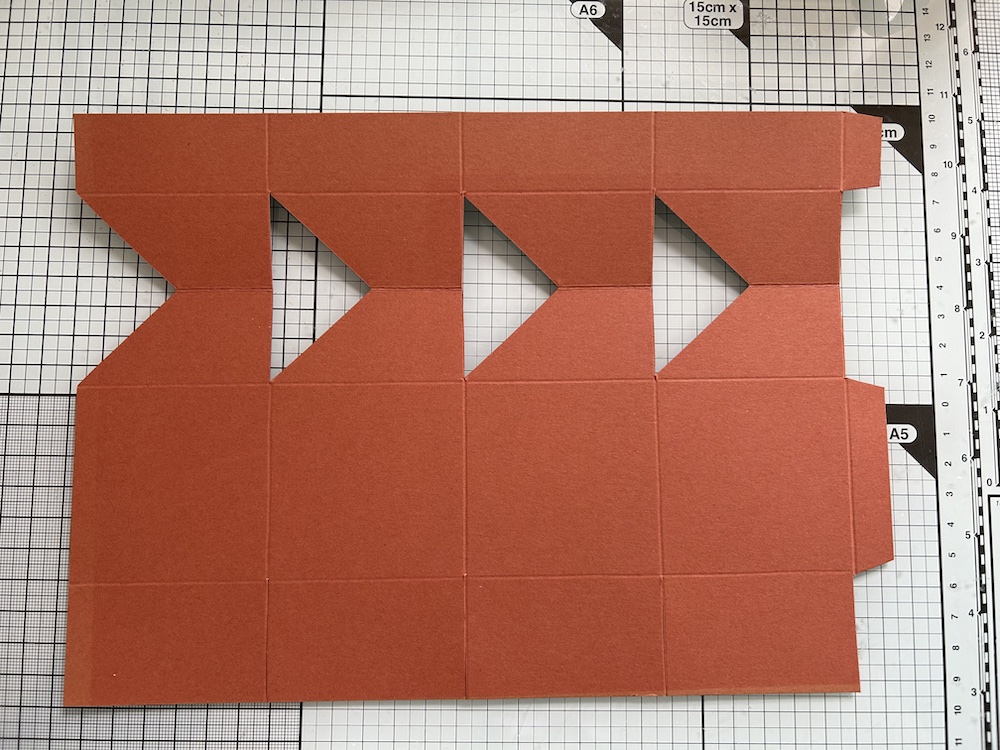
Fold and burnish all the score lines.
Stick the narrower bits of DSP across the tabs at the top of the box as shown:
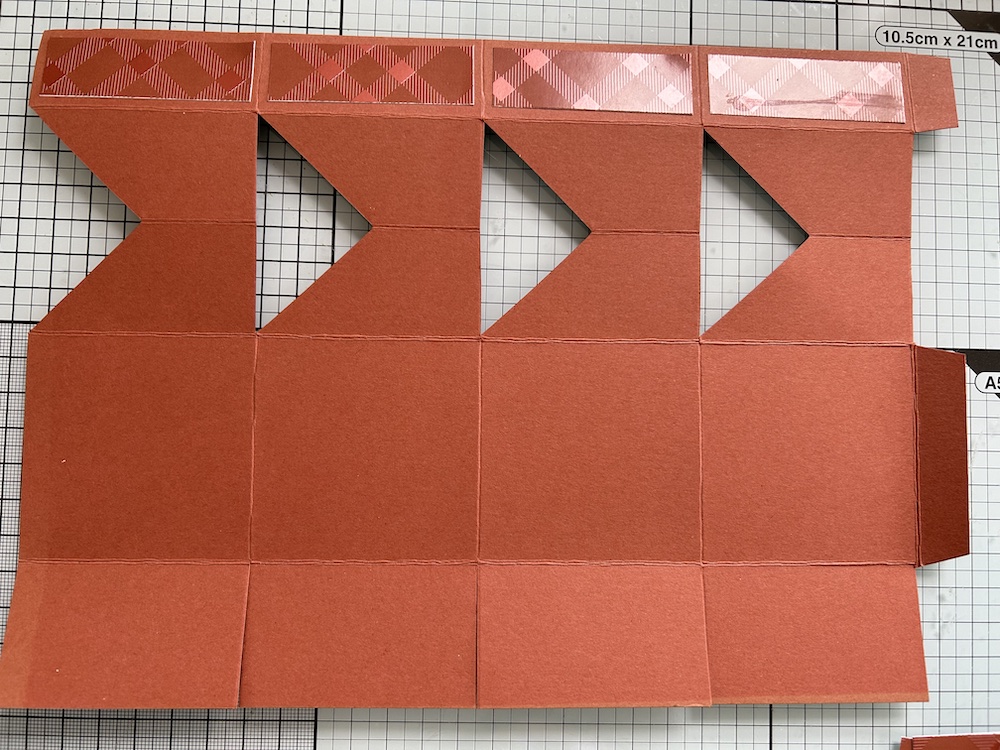
Turn the cardstock OVER then stick the larger pieces of DSP across the lower half of the large square panels just above the bottom flaps of the box. The two sets of DSP are therefore on opposite sides of your cardstock.
Now fold the top section towards you so that both sets of DSP are showing on the outside – this is the lid of the box. IT IS VITAL TO DO THIS BEFORE CONTINUING TO MAKE UP THE MAGIC LID BOX.
Add tear & tape to the large tab and fold the sides together to form the box, being very careful to line up the score lines.
Stick the bottom tabs together to form the base, ensuring the base is square.
Now the magic happens! Squeeze the top lid downwards and it will magically fit over the bottom of the box. Open and close the magic lid box a few times to make the mechanism smooth.
Add some tear & tape to the small tab in the “lid” and stick it under the neighbouring top piece to stick the magic lid together.
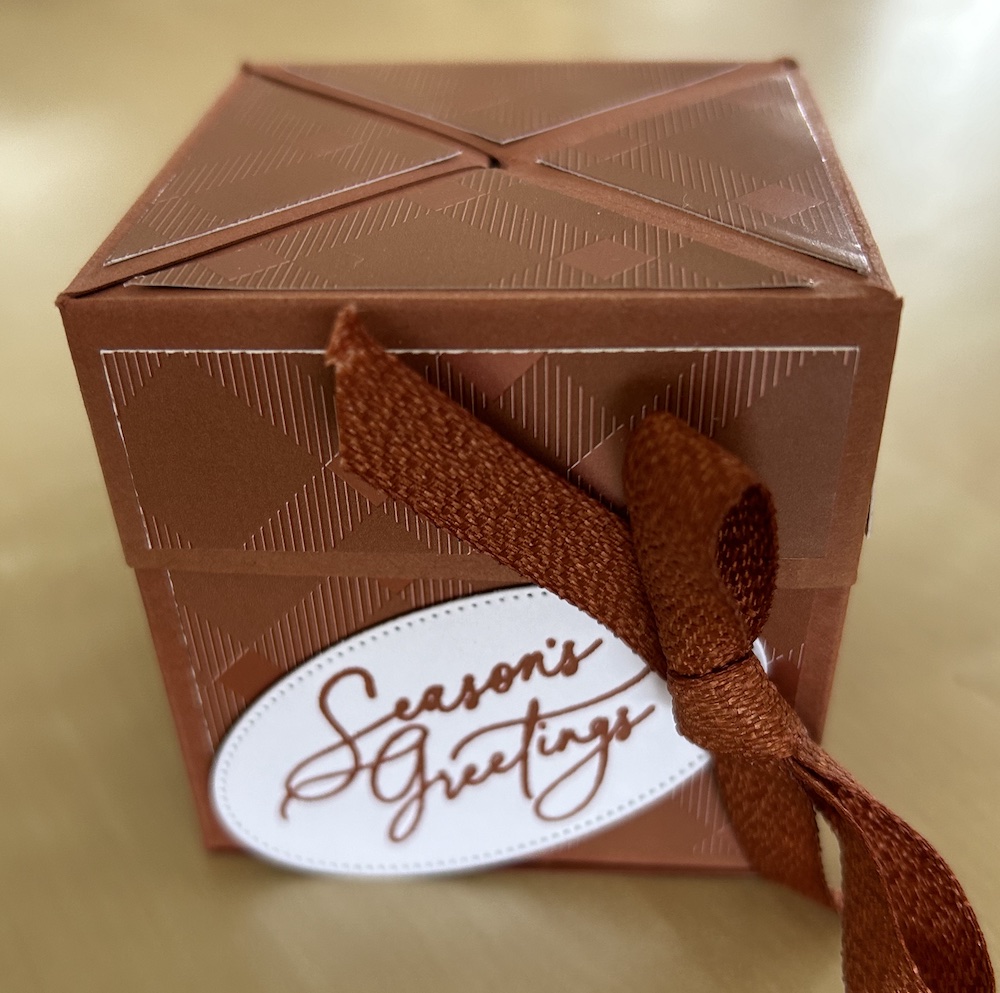
Use your trimmer to cut the 2 1/8″ square of DSP diagonally across both diagonals (see the video for a way to do this easily). Stick these four triangles to the top of your magic lid box.
Stamp a sentiment (I used Greetings of the Season), cut it out with one of the matching dies, then add to EITHER the lid OR the bottom of the box side using dimensionals to make sure it does not impede the box opening and closing. The box below has the sentiment attached to the box bottom: in the video, I attached it to the box top.
Add a ribbon bow to finish your magic lid box. I used a retired ribbon in the video, but the gold & silver trim would also work well. I think the Copper Clay ribbon in the picture of my prototype is too wide.
I hope you have a go at making this all-in-one magic lid box. They are great fun to make – and to play with!
Thank you for taking the time to read my post.

Don’t forget – you get a FREE tutorial of eight cards when you place an order with me. There’s a different set every month. And, if your order is over £40, you will also get to choose stuff from my online shop to the value of your order!
Product List ![Lost Lagoon A4 Cardstock [ 133686 ]](https://assets1.tamsnetwork.com/images/EC042017NF/133686s.jpg "Lost Lagoon A4 Cardstock [ 133686 ]") | ![Basic White A4 Cardstock [ 159228 ]](https://assets1.tamsnetwork.com/images/EC042017NF/159228s.jpg "Basic White A4 Cardstock [ 159228 ]") | ![Simply Scored [ 122334 ]](https://assets1.tamsnetwork.com/images/EC042017NF/122334s.jpg "Simply Scored [ 122334 ]") | ||
![Paper Trimmer [ 152392 ]](https://assets1.tamsnetwork.com/images/EC042017NF/152392s.jpg "Paper Trimmer [ 152392 ]") | ![Stampin' Dimensionals [ 104430 ]](https://assets1.tamsnetwork.com/images/EC042017NF/104430s.jpg "Stampin' Dimensionals [ 104430 ]") |
![Tartan Foil 12" X 12" (30.5 X 30.5 Cm) Specialty Designer Series Paper [ 162332 ]](https://assets1.tamsnetwork.com/images/EC042017NF/162332s.jpg "Tartan Foil 12\" X 12\" (30.5 X 30.5 Cm) Specialty Designer Series Paper [ 162332 ]")
![Greetings Of The Season Bundle (English) [ 164113 ]](https://assets1.tamsnetwork.com/images/EC042017NF/164113s.jpg "Greetings Of The Season Bundle (English) [ 164113 ]")
![Lost Lagoon Classic Stampin' Pad [ 161678 ]](https://assets1.tamsnetwork.com/images/EC042017NF/161678s.jpg "Lost Lagoon Classic Stampin' Pad [ 161678 ]")
![Gold & Silver 1/8" (3.2 Mm) Trim Combo Pack [ 161633 ]](https://assets1.tamsnetwork.com/images/EC042017NF/161633s.jpg "Gold & Silver 1/8\" (3.2 Mm) Trim Combo Pack [ 161633 ]")

I was given one of these boxes at my very first on stage in Telford many years ago and always wanted to learn how to make it
Great instructions and a wonderful little gift box to give as a present.
Thank you Carol
Delighted I could help Helen!