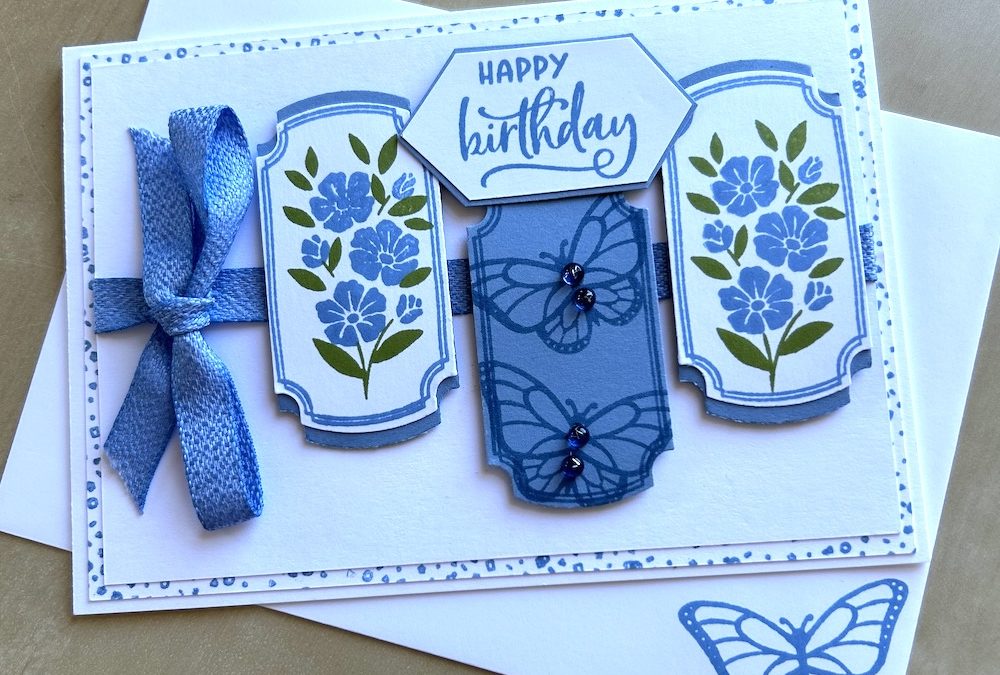
For my LIVE this week I made a panel card using the gorgeous Labeled with Love bundle which comes with a choice of punch or dies.
My plan was to make a simple labeled panel card and add a ribbon bow, but in the end I changed some things from my plan! I gave some tips about how to add ribbon to a card, how to make a background for a layer and how to edge a punched-out panel! More than I’d planned but that’s what happens in lives…
Suzanne asked what cardstock I use for my cards. When using Basic White or Very Vanilla I always use the thick version of the cardstock for my card base, then the ‘normal’ cardstock for any layers. (When using coloured cardstock there is no option as it is all the same thickness.)
Anyway, to make this card you need:
- Labeled with Love stamp set and dies or punch
- Basic White cardstock base 21cm x 14.8cm scored at 10.5cm (8½” x 5½” scored at 4¼”)
- Basic White layer 1: 10cm x 14.3cm (4” x 5¼”)
- Basic White layer 2: 9.5cm x 13.8cm (3¾” x 5”)
- Strip of Boho Blue cardstock 4cm (1½”) wide x width of A4/Letter
- Scrap of Basic White cardstock approx 7cm x 7cm (3″ x 3″) – enough for two panels plus scrap for the sentiment
- Scrap of Boho Blue to line the sentiment
- Boho Blue and Old Olive ink pads
- Boho Blue ribbon
- Gems and Wink of Stella for decoration
I started by adding a border to the Basic White layer 1 by stamping the confetti stamp all around the edge of the layer in Boho Blue.
Stamp the labeled panel outline three times in Boho Blue, once on Boho Blue cardstock and twice on the Basic White scrap. (I stamped the panel outline stamp three times in Boho Blue, first on my Boho Blue cardstock then I stamped two outlines in the same colour on Basic White as I changed my mind!)
In the Boho Blue cardstock stamped outline, stamp the outline butterfly twice in Boho Blue.
In the two outlines on Basic White stamp the leaves in Old Olive then stamp the flowers in Boho Blue. Tip: Line up the small flowers with the flower stems – see the video for details.
Punch out the stamped panels and also two further panels from Boho Blue cardstock. Cut the Boho Blue panels in half and stick one half behind each end of each Basic White stamped panel to provide a layer edging as shown.
Stamp your sentiment in Boho Blue on a scrap of Basic White cardstock. Trim the edges as shown in the video to form points. Stick to the scrap of Boho Blue card and trim the edges to give a layer around the sentiment.
Cut a length of Boho Blue ribbon to wrap around layer 2. Add tear & tape behind each side and partway across the middle of the card layer as shown in the video, leaving a gap on the left hand side of the panel. Stick the ribbon to your card layer stocking the front first then wrapping the edges behind your panel as shown on the video. This prevents any warping of the panel.
Stick the stamped layer 1 to your card base. Add the beribboned layer 2 on top.
Cut a further length of ribbon for a bow. Tuck it under the straight piece of ribbon on the card where you left the gap and tie a bow.
Add the panels to the right of the card as shown in the picture above using dimensionals, adding the sentiment panel in the centre.
Finish with gems on the butterflies and some Wink of Stella on the butterfly wings and flower centres.
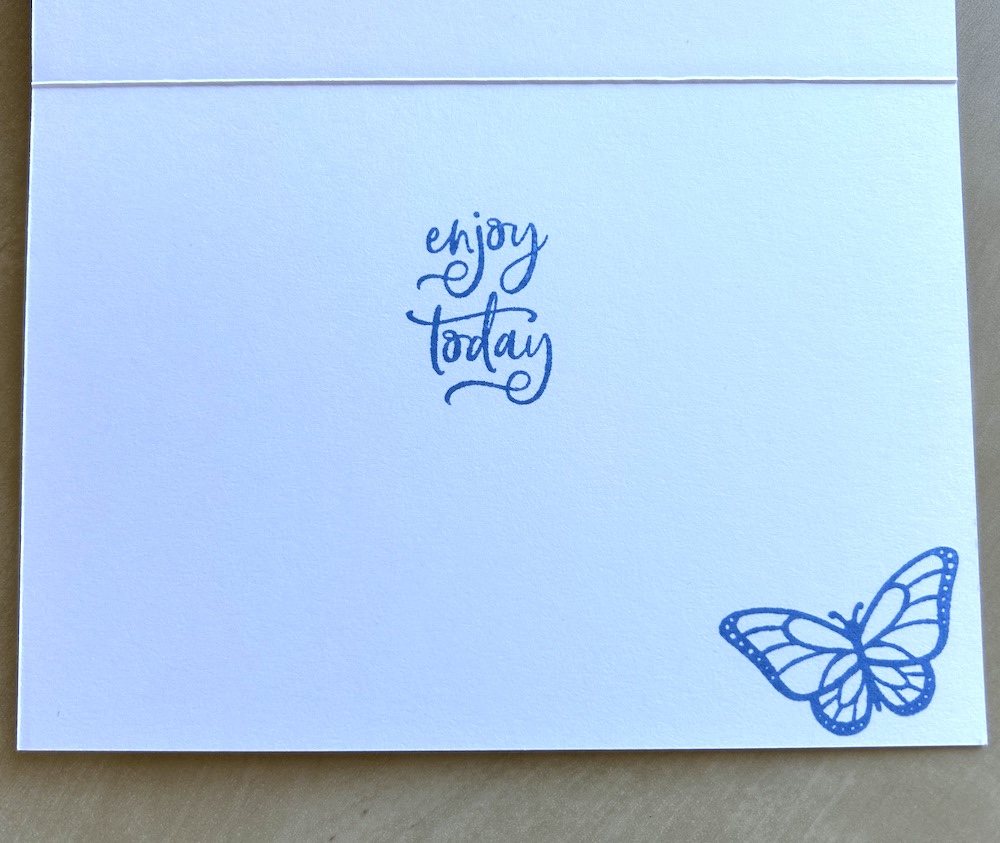
To finish the inside of the card I stamped another sentiment and a butterfly outline in Boho Blue. I stamped the butterfly on the envelope for decoration too.
You can see how this labeled panel card developed and see how I lined up the flower stamp with the stems on the video below:
I love this Labeled with Love bundle and I’ve made a card to share with fellow demonstrators at our event on Saturday – more on these other cards next time!
I hope you like this card and will have a go at making one – please show me what you come up with.
Thank you for taking the time to read my post.

Don’t forget – you get a FREE pdf when you place any order with me as your demonstrator. And, if your order is over £40, you will also get to choose stuff from my online shop to the value of your order!
Product List  |  |  |  | |
 |  |  |  |
")
 Textured Ribbon")
