It’s Tech4Stampers blog hop time again. This month our group is challenged to make a card with DSP.
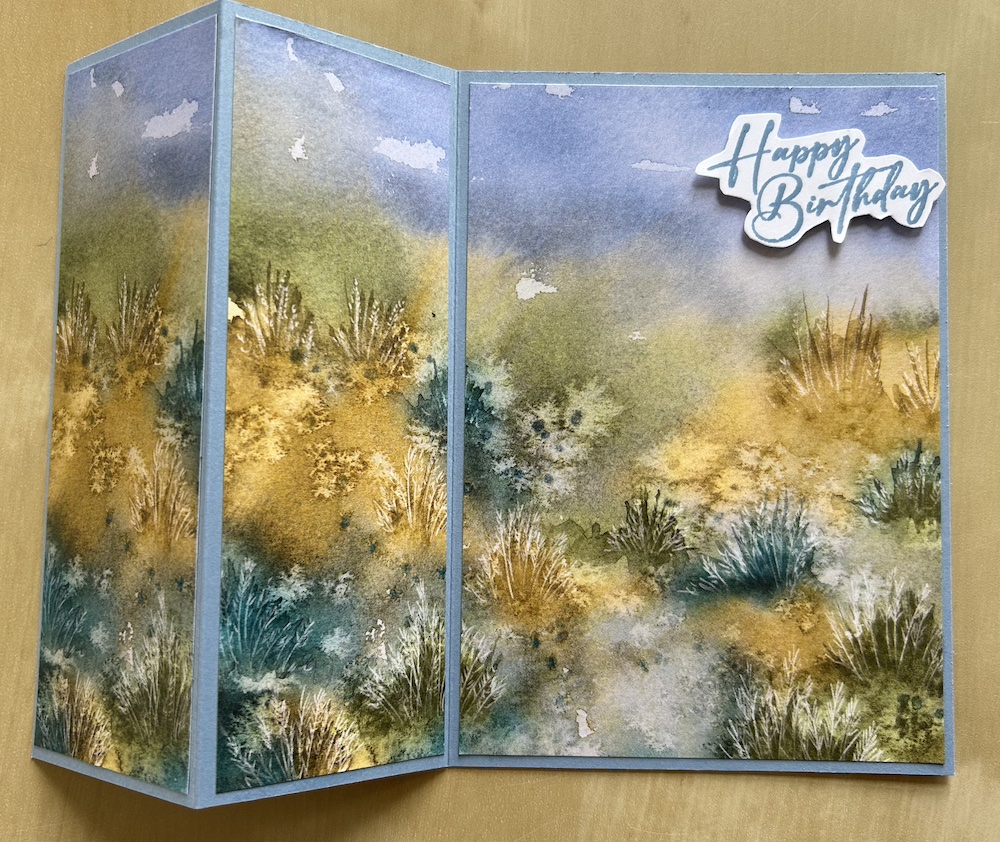
I adore the Thoughtful Journey DSP which has such a fabulous set of scenic images. So I made a simple fun fold card that really does showcase this beautiful DSP. You will need two 6″x6″ sheets of the same design to make this card.
Just be careful when you cut your DSP to make sure the scene pattern flows across the card.

You will need:
- Boho Blue cardstock 21cm x 14.8cm (8 ½” x 5 ½”)
- Thoughtful Journey DSP: 2 sheets of the same design – see instructions below for how to cut
- Basic White card 9.5cm x 13.8cm (3 ¾” x 5”)
- Unbounded Love stamp set
- Boho Blue ink pad
- Scrap of Basic White card for sentiment
Score the Boho Blue cardstock in half at 10.5cm (4 ¼”) then score one side in half again at 5.25cm (2 1/8″). Fold the first score line as normal then fold the front half panel outwards to form the simple fun fold.
Trim your DSP to 14.3cm (5 ¼”) deep by cutting a small strip from the top or bottom depending on which you prefer for the scene you have chosen.
With the scene facing the correct way (sky at the top), cut at 5cm (2″). The larger piece is for the back panel of your card.
Trim the remaining 5cm [piece to 4.8cm (1 7/8″) by taking a tiny strip of the LEFT hand side of the scene. This piece is for the front panel.
Cut another DSP piece from the second sheet of DSP that is 4.8cm (1 7/8″) x 14.3cm (5 ¼”) to fit the inside of the front panel – choose where you cut so that the scene looks OK when viewed across the card.
Stick all three prepared panels to your card base. You should see a beautiful scene when opening out the card.

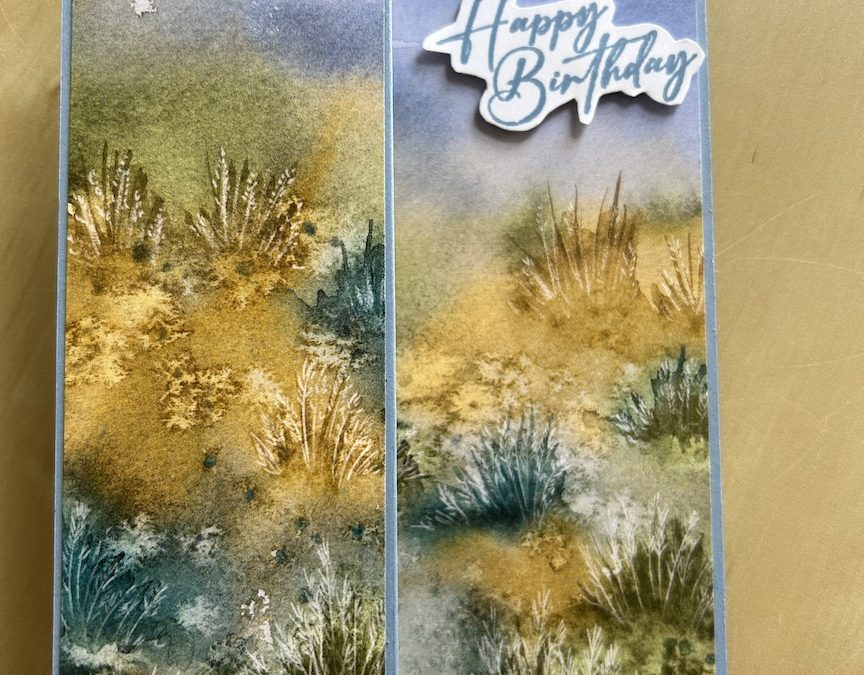
Stamp your Happy Birthday sentiment in Boho Blue ink onto a scrap of Basic White then cut out around the letters leaving a small border.
Add your completed sentiment to the top right of the back panel using dimensionals as shown in the picture above.
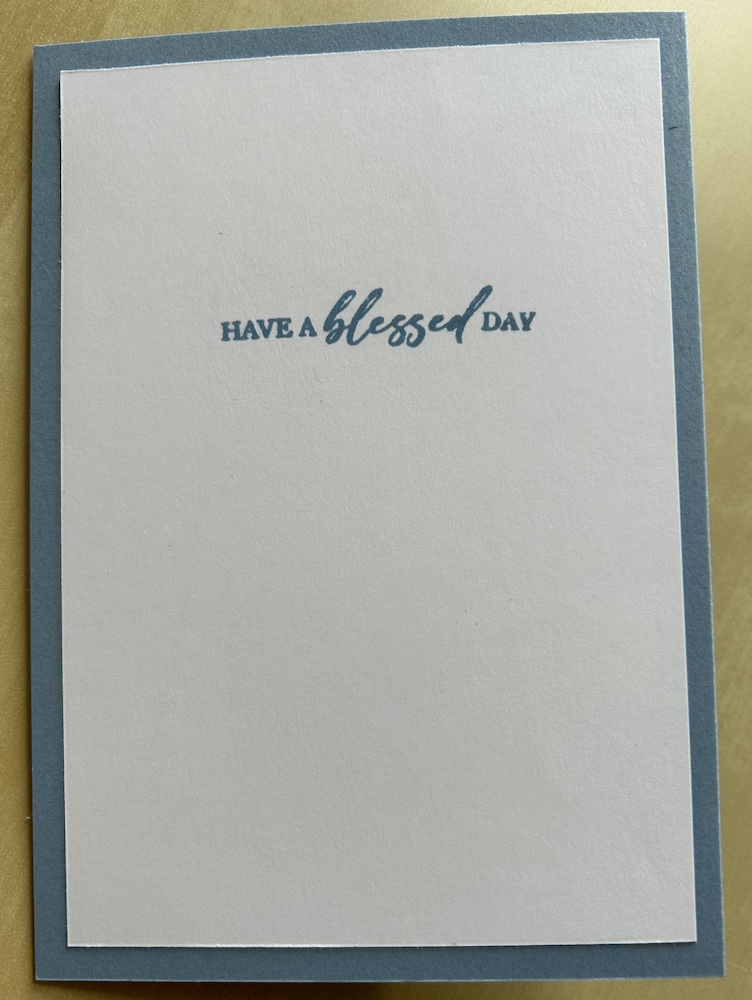
I didn’t want to spoil the card by adding a panel for a greeting, so I used the back of my card. I stamped a sentiment in Boho Blue onto the Basic White panel then stuck it on using multipurpose adhesive. You could add further stamped decoration if you wanted.

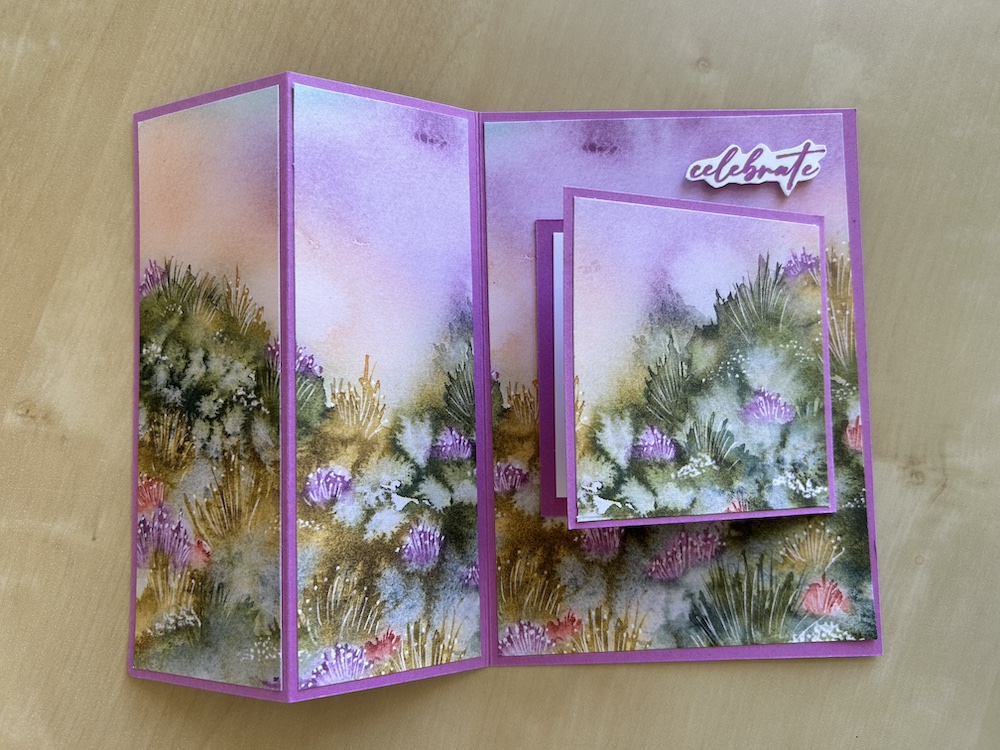
I made a similar card and a second card using a different colour combination and different scene from the DSP in my Craft with Carol LIVE (every Tuesday at 2pm on YouTube and Facebook) – you can find the video below:
Here is the fun fold flap card I made:

The products I used are listed below.
Please now check out the wonderful cards made by my fellow T4S stampers.
See you again soon!
I hope you like this card and will have a go at making one – please show me what you come up with.
Thank you for taking the time to read my post.

Don’t forget – you get a FREE pdf when you place any order with me as your demonstrator. And, if your order is over £40, you will also get to choose stuff from my online shop to the value of your order!
Product List


Love the fun flap you’ve added to this design, thanks for sharing
Beautiful cards Carols. This DSP has to be one of my all time favourites x
Mine too! The reverse patterns are gorgeous too.
fantastic cards and beautiful papers perfect ?
I love your card. This DSP is my favourite.
Lovely as always, Carol – it’s one of my favourites too.
Both of your cards are gorgeous. I love this DSP and the extra flap you added to the inside of the card.
Thank you everyone for the comments. Glad you like the added flap!