I love to make packs of cards and other gifts to give as presents at Christmas. So I need a lovely box to present them in and what better than to create your own gift box, custom-made to fit your present?
In this video, I show you how to measure to get the correct measurements for a lidded box for any size square or rectangular gift. For this video (see below), I’ve used a set of six cards and envelopes, but you can use this method for any size gift you wish, as long as it is square or rectangular – I will do other posts in future about how to measure for other shapes of box.
You can use this method either in inches or centimetres, whichever you prefer. I find a sheet of Stampin Up! grid paper works perfectly for this, but you could measure on any flat surface. If you don’t have grid paper or something similar, the best way is to draw carefully around the edges of your gift and then measure.
You have various options – you can make the top and the lid of the box the same size, in which case your lid will totally cover your box base and you may want to add some half circle cutouts to help the recipient open it. Or you can make the box lid smaller than your base, which is my preference. You decide how much smaller!
I also strongly suggest you decorate your lid BEFORE making it up. If you prefer not to, the alternative is to decorate your lid once it is on your filled box. Don’t try to decorate the lid on an empty box as there is too much risk of damaging the lid by pressing on it.
Here’s the video. I hope you find this method useful – let me know!
The only tools you need for this, besides your chosen cardstock, are your trimmer and paper snips. I would also use a good strong glue such as Stampin’ Seal.
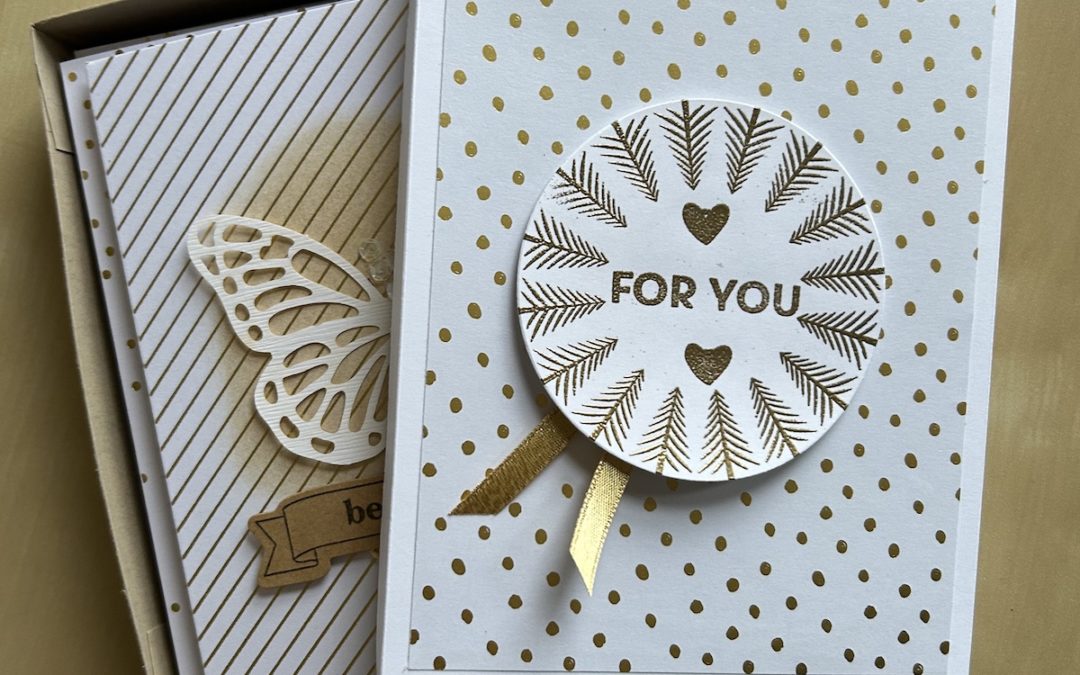
I used the Wishes All Around bundle to decorate my gift box but you can. use any set you want.
Product List  |  |  | ") |
