I’ve been playing a lot with the gorgeous Bottled Happiness stamp set and punch lately, as you can see in a recent blog post. But I wanted to use the matching vintage bottle shaker domes and make a shaker card.
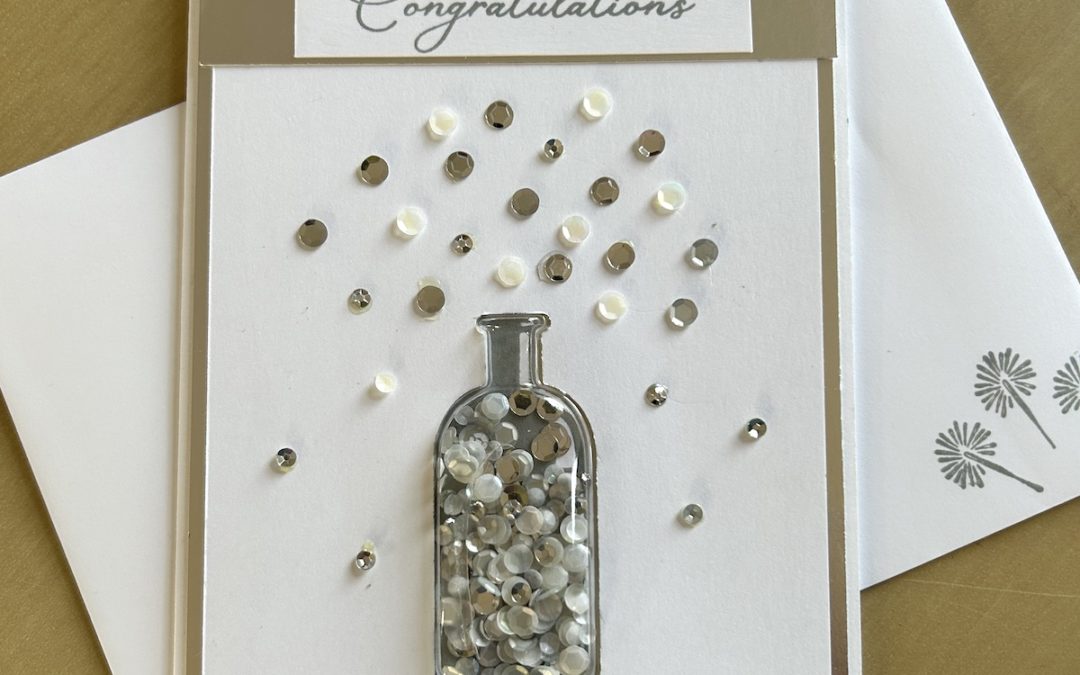
So I thought, why not use the lovely Bottled Happiness stamp set and punch to make a celebration shaker card along with the Here’s to Love stamp set? This card is suitable for a wedding, engagement, anniversary or any other wonderful occasion. I know the bottle is not a champagne bottle but I think it looks near enough! With silver sequins and silver foil it is certainly a special card.
It does fit into a standard Basic White envelope, but it would need to be sent as a large letter in the UK as the shaker dome adds depth.
To make the card you need:
- Basic White card base 21cm x 14.8cm scored in half at 10.5cm
- Silver foil layer (x2) 10cm x 14.3cm
- Basic White layer (x2) 9.5cm x 13.8cm
- Strip of solver foil approx 2cm x 10cm
- Strip of Basic White for sentiment approx 1.75cm x 8cm
- Bottle Shaker dome
- Small sequins
You can see how to make the card in the video below, or if you prefer here are the instructions.
Stamp your inside greeting in Smoky Slate onto one of the layer Basic White pieces. Add any further decoration as desired. I used the Here’s to Love stamp along with the sparker type stamp from the Here’s to Love stamp set, which I also used to decorate the envelope as you can see in the video.
Stick a silver foil layer to the from and the inside of the card. Stick your stamped basic White inner panel inside the card using multipurpose glue,
Place your second Basic White layer piece into the bottle punch. Centre it and use a pencil to make small marks where the stamp needs to be. See the video if you’re not sure about this. Please don’t try to stamp then punch – the stamp needs to be lower than you think to fit into the punch.
Stamp the bottle in Smoky Slate then punch it out. Peel off the adhesive topper from a Vintage Bottle Shaker dome and insert into your created aperture. Turn over and add a good amount of sequins. Peel off the other adhesive rim and stick your punched-out bottle into the aperture – it will stick down and hold the sequins in place. Stick the completed piece to the front of your card on top of the silver foil layer.
Stick the foil strip across the top of the card. Stamp your Congratulations sentiment onto the Basic White strip and add that in the centre of the strip. I used glue or you could use dimensionals.
Add sequins to mimic champagne coming out of the bottle. I found it easiest to use glue dots for this as using multipurpose glue was a bit messy! But that could just be me. The glue dots from kits are the best. Put plenty of sequins around the top of the bottle and some down each side too.
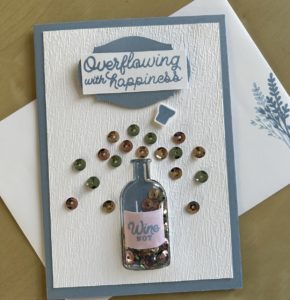
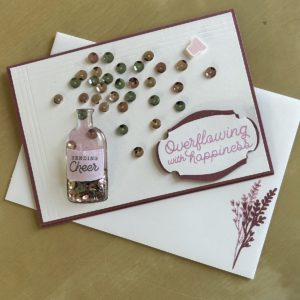
I got a bit carried away and made a couple more cards like this. For these cards, I added a background either using my scoreboard to score three parallel lines across and down the card (the in card) or my retired subtles embossing folder (the blue card). I can’t decide whether the backgrounds add to the card or not. What do you think?


I added a cork on these cards too. You could stamp, fussy cut and add one to your celebration card too if you wanted. To add the label onto the bottles I stamped onto a sticky label as it was easy to stick onto the domes.
I’ve really enjoyed making shaker cards as did my ladies at my Craft’n”Chat class the week. I hope you have a go too.
Product List
|
|
|
|
||
|
|
|
|
|


