I can’t believe it is March already (my birthday month). As I write this we have had a very cold snap and snow – and our heating system is kaputt so we are freezing. Crafting is keeping me sane!
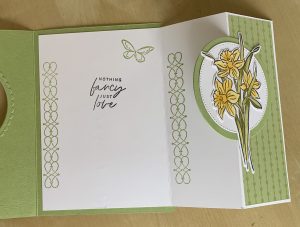
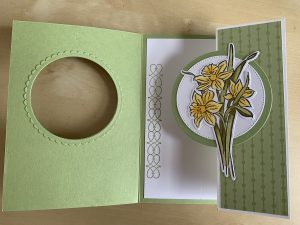
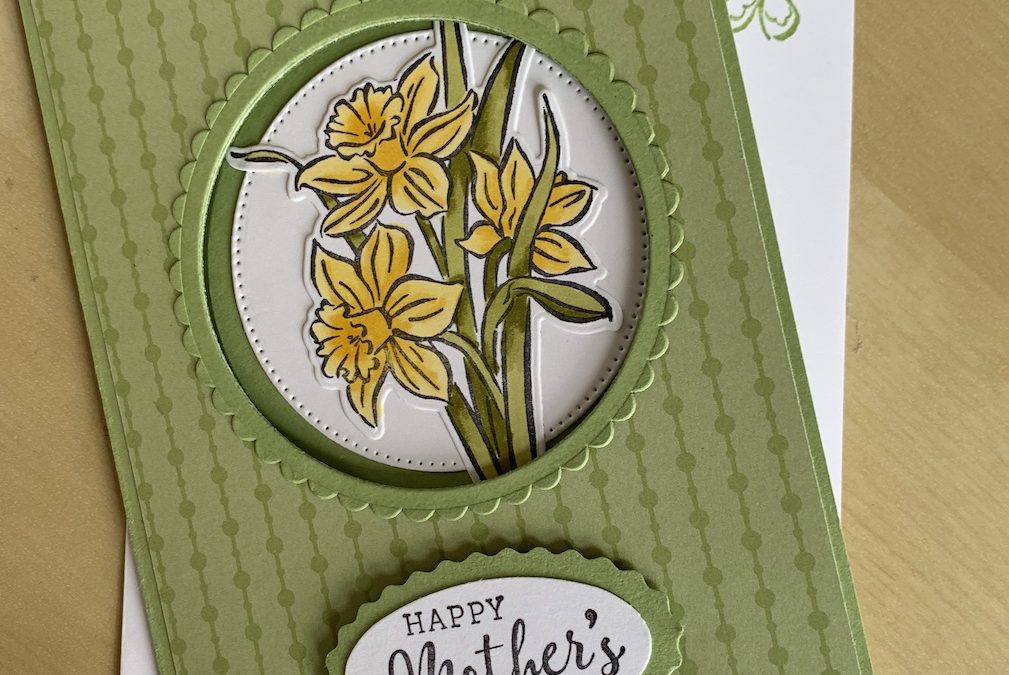
Our theme this month is Springtime. Last week I made St Patricks Day cards which you can find in the previous post in this blog, so for this blog hop I have made a Mother’s Day springtime card. It’s a fun-fold flap card and a real WOW card, but it’s easy to make. The video and instructions are below.
Measurements and Instructions
- Pear Pizazz base 14.8cm x 21 cm, scored at 10.5cm
- Basic White inner 14cm x 19.6cm, scored LS at 4.8cm and 9.7cm
- DSP: 2 pieces, 10cm x 14.3cm and 4.3cm x 13.5cm
- Pear Pizazz die cut plain or stitched circle
- Basic White stitched circle one size smaller than the Pear Pizzazz circle
- Scraps of Basic White and Pear Pizazz for the image and sentiment
- (Optional) Two frames: Pear Pizazz cut with the largest scalloped circle and the centre taken out with the second largest plain circle die
The video takes you through making the card step-by-step as per the basic instructions below.
- Stick the smaller DSP piece to the front of the outer panel of the Basic White card

- Stamp your required decoration and sentiment onto the inner card piece using Pear Pizzazz and Memento. Adhere the back panel to the inside of your base card as shown.
- Stick the large piece of DSP to the front of your base Pear Pizazz card making sure you add glue to the whole sheet.
- Using the same size die as you used to cut the Basic White stitched circle, cut out a circle from the upper third front of your card through the DSP and cardstock.
- (If using, stick your die cut scalloped frames to the circle outside and inside the front of the card)
- To stick your Pear Pizazz circle in the right place, place it inside the card over your aperture, add glue to the outer half ONLY then close the card over to stick it to your back flap (see the video if you aren’t sure about this). Stick your stitched circle on top of your Pear Pizazz circle.
 Stamp your image on a separate piece of Basic White card stock. Colour as desired – the video shows you how to use blends to give depth to your image. Die or fussy cut the image and stick to your circles as shown.
- Stamp your sentiment onto a scrap of Basic White. use the Double Oval punch to punch it out and add to a punched-out Pear Pizazz base. Use dimensionals to add to the front of your card.
- Decorate your envelope (I used the small butterfly stamp)
- Give to your mum and watch her face light up with springtime joy when she opens the card!
I hope you enjoyed my card. Please now go and view the other cards made by our amazing group of demonstrators.
Product List
|
|
|
|||
|
|
|
|
||
|
|
|
|
|
|
|
|


Thanks for the inspiration I had to have a go after watching the video. Can’t see how to attach a picture though. Thanks anyway
Lovely card Carol. By the way, the link for T4S blog hop is broken, and I had to find you via your home page and search for post.
Love this card!