In my previous post and video I showed you how to make a quick and easy simple self-standing desk calendar. But sometimes you might have a scrap of DSP or a particular image you want to use to make into a desk calendar.
In this post and video I show you how to make a custom-sized self-standing desk calendar.
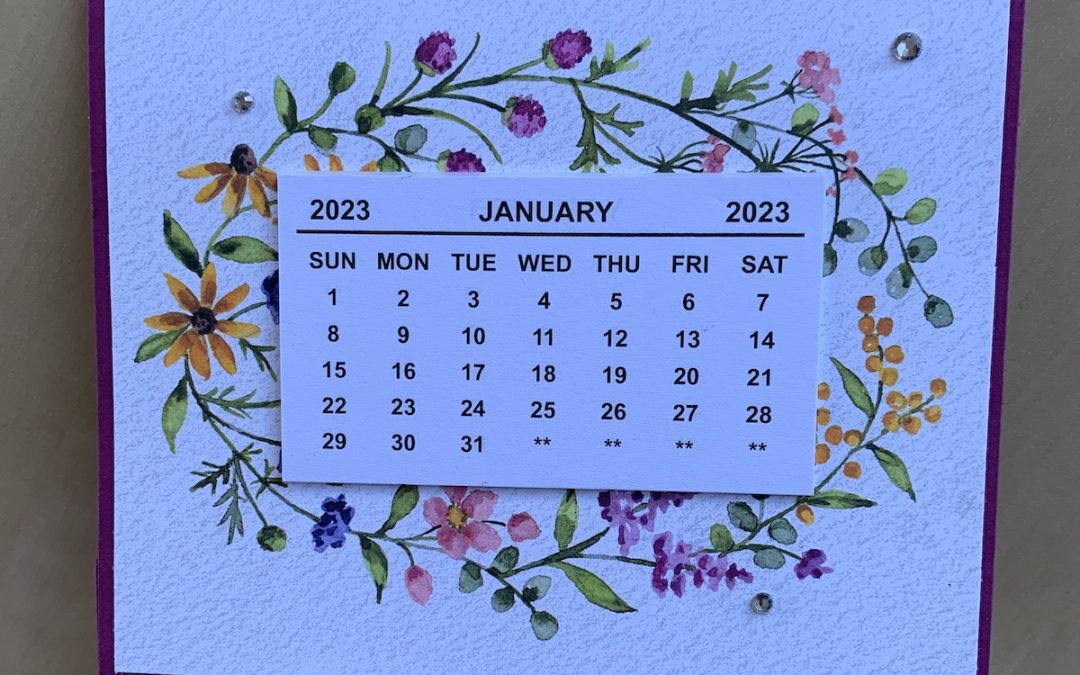
I’ve used a bought calendar tab (from Amazon) for these calendars but you can use the lovely Days to Remember stamp set from the annual catalogue to make your own. More on using this gorgeous set in a couple of weeks time!
]Here is how to measure the size you need for your custom size desk calendar.
- First measure the size of the DSP or stamped image you want to use. In the video I used an image from the gorgeous Dainty Flowers DSP. My DSP piece measured 12.2cm wide by 10cm deep.
- The cardstock piece needs to be 0.5cm bigger all round, that is, 12.7cm x 10.5cm in this case.
- You also need to allow for double the depth to form the back piece of the calendar, which makes the total cardstock piece I needed to measure 12.7 wide by 21cm deep.
- Score this piece in half (at 10.5cm in this case).
- To make the self-standing base you need a cardstock piece 8cm deep x the width of your desk calendar base, in this case 8cm x 12.7cm.

- Score this piece on the 8cm side at 2cm, 4cm and 6cm as a mountain, valley then mountain fold to form a W (or M!) shape.
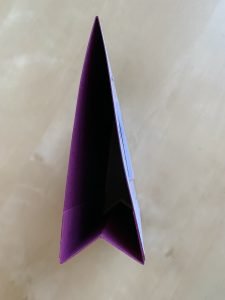
- Add the base to the calendar using tear & tape, sticking the calendar main piece edge abutted to the first fold as shown in the picture. Repeat for the back.
- Stick your DSP to the front of your calendar.
- Add your calendar tab.
- Decorate further if required
Let me see what you come up with!
Product List
|
|
|
|


