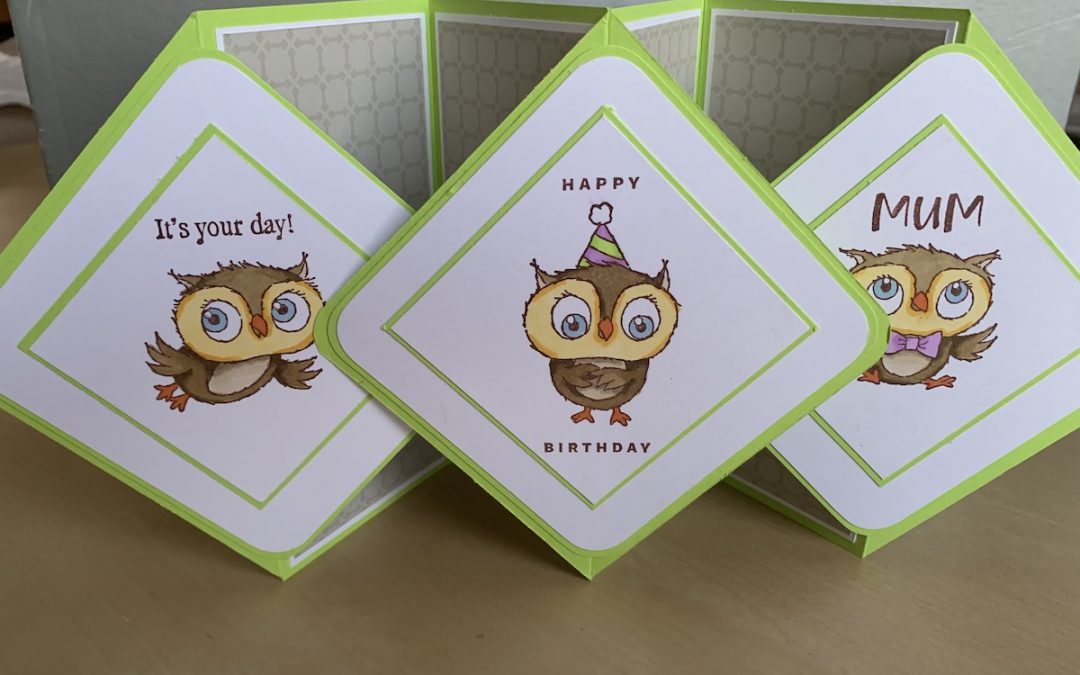
I love making WOW cards for family and friends and this floaiotng diamond owl card certainly fits that description! I’ve used the Adorable Owls set from the upcoming Saleabration promotion for the main images. I made it a a birthday card for my mum.
You can earn this set or any of the other great SAB freebies with every £45 order between 4th January and 28th February 2023. Please get in touch if you’d like a catalogue (UK and Ireland only)
The card is really easy to make once you have cut all the pieces (and there are quite a few). It fits a 6×6″ envelope. Thanks to the lovely Jan Brown for the basic measurements.
Here’s the video of how to make the card. The full instructions are below.
You will need:
 Base colour cardstock (I used Parakeet Party): TWO pieces each 5 3/4″ x 11 1/2″ (14.6cm x 29.5cm)
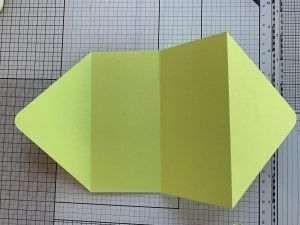
Score each piece at 2 7/8″, 5 3/4″ and 8 5/8″ (7.5cm, 14.7cm and 22cm)
Make a pencil mark halfway along each short side at 2 7/8″ (7.3cm) then use your trimmer to cut diagonally from that mark to the first score line on each corner – see the video for details. Round the points with your corner rounder.
Assemble the base card as shown in the video, butting the two sides together and adding a small piece of tape across the two centre half diamonds to hold the sides together.
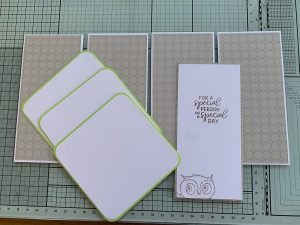
 For the panels either 4 or 7 of these (depending on whether you decide to add them to both sides of your card):
- White card panel: 2 5/8″ x 5 1/2″ (6.7cm x 14cm)
- DSP: 2 1/2″ x 5 3/8″ (6.4cm x 13.7cm). (You can use one or two designs as you wish.)
For the sentiment/signature panel:
- DSP: 2 5/8″ x 5 1/2″ (6.7cm x 14cm)
- White card: 2 1/2″ x 5 3/8″ (6.3cm x 13.6cm), decorated as you wish
Assemble and stick to your card base.
For the front large diamonds;
- Colour cardstock: 3 7/8″ x 3 7/8″ (9.8 x 9.8cm)
- White layer: 3 3/4″ x 3 3/4″ (9.4cm x 9.4cm)
Stick these layers together and attach to the base card over the pieces of tape as shown in the video. Be careful only to glue half of the side diamonds to fix them to the flaps (see video).
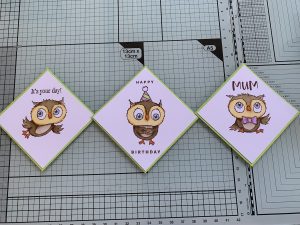
 For the centre image diamond (slightly larger):
- Colour cardstock: 2 7/8″ x 2 7/8″ (7.3cm x 7.3cm)
- White layer: 2 3/4″ x 2 3/4″ (7cm x 7cm)
For the side image diamonds:
- Colour cardstock: 2 3/4″ x 2 3/4″ (7cm x 7cm)
- White layer: 2 5/8″ x 2 5/8″ (6.7cm x 6.7cm)
Stamp and colour your images and add any sentiments.
NOTE: Please remember that the images need to be stamped DIAGONALLY on these diamonds, not the usual up and down way! Ask me why I needed to emphasise this…..!
I coloured the owls using my Stampin Blends – watch the video to find out which colours I used.
Stick your completed panels flat to the card. You can’t use dimensionals because the card will not then fold flat to put in the envelope.
I hope you have a go at making this card and let me see your creations. It is easier than it looks. Oh – and my mum loved it!
Happy New Year!
Carol x
Product List
|
|
|
|
||


