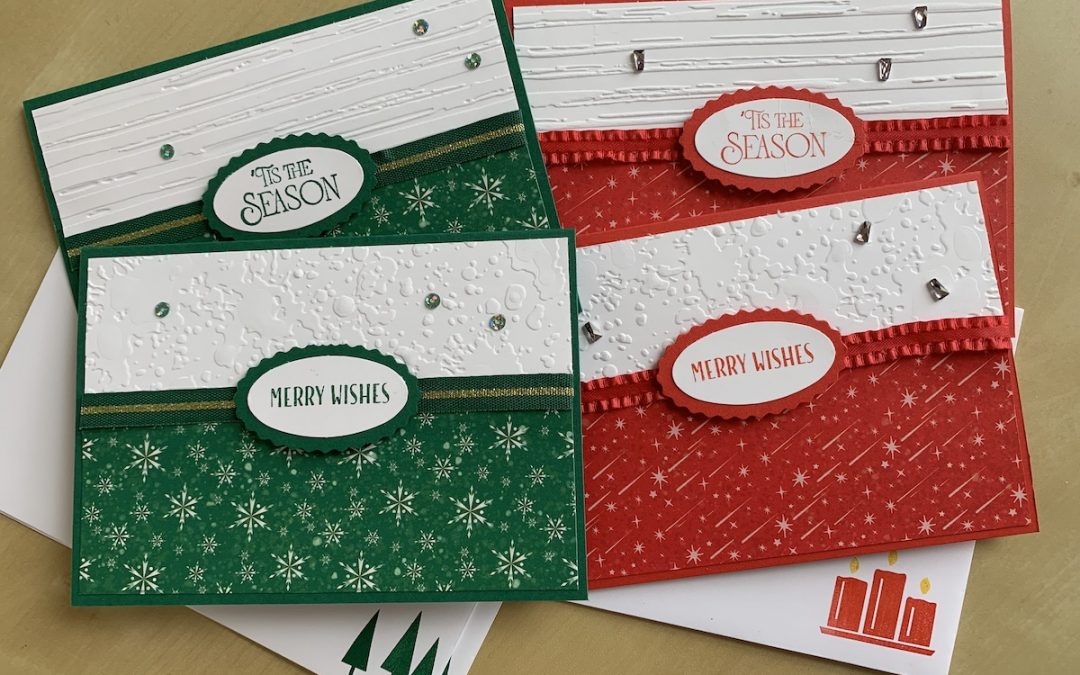
Get ready for Christmas!
I know, I know, it’s not even the end of August. But I was shamed into thinking about Christmas cards by one of my class attendees (now a team member – thank you!) who stated that she had made all her Christmas Cards already.
So because it’s a bank holiday weekend and we all need a rest, here are some quick and easy Christmas cards that can be made with any suitable DSP, a coordinating colour card base and a few stamps from sets you may already have.
I’d love to see what you come up with using this idea.
Measurements:
Poppy Parade / Shaded Spruce card bases: 14.8cm x 21cm scored at 10.5cm
DSP (I used Santa Express DSP): 14.3 x 5.5cm
Basic White: front – 14.3 x 4.5cm
Basic White: Inner – 13.8 x 9.5cm
Approx 6″ coordinating ribbon
Small Christmas images and sentiments – I used Window Wishes and Brightest Glow stamp sets from the July to December mini (Christmas) catalogue
Instructions
Emboss the Basic White strips with the Splatters and Stripes embossing folders. Stick the white strip just behind the DSP panel, using the card front to guide you, as shown on the video. Stick a piece of Tear and Tape along the join on the front of the made-up panel and stick the ribbon across, tucking the ends behind and sticking to the tiny bit of tape showing. Stick the completed panel to the front of the card.
Stamp your sentiment on a scrap of Basic White and punch it out using the Double Oval punch. Punch out a scalloped oval in your chosen colour cardstock. Stick together and add to the centre of the card front using dimensionals.
Stamp a sentiment on the inner Basic White panel and decorate the corner with a small image stamp. Adhere inside your card.
Don’t forget to decorate your envelopes!
See the video for how to use the Stamparatus. This is an invaluable tool, especially if you want to batch make some Christmas cards.
Product List
|
|
|
|
||
|
|
||||
|
|
|
|
||
|
|
|


