The new catalogue is out and there are some lovely products in it. One of my favourites is the Tea Boutique suite, which includes the Cup of Tea bundle of stamp set and teacup dies, Tea Boutique DSP and the Tea Boutique cards and envelopes.
I couldn’t wait to make some cards and gifts with this set, so here they are! You can see all I’ve made on my Craftalong video. There are separate accompanying videos for the double flap card and the tea bag gift pouch.
These cards use the Cup of Tea stamp sets and dies, other suite products and the new In Color and Tea suite DSP
There are two separate videos available soon on how to make the double flap card and how to make the tea gift pouch.
Don’t forget to decorate the insides of the cards and decorate your envelopes (where you need to!)
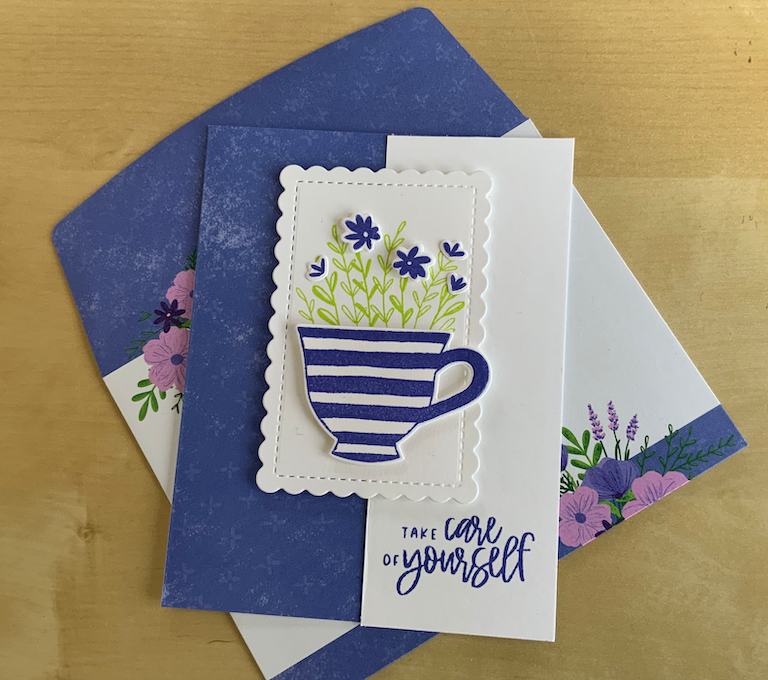
SUPPLIES
Orchid Oasis matching card and envelope (NB These are US sizes)
Basic White panel 5.5cm x 14cm
Basic White scraps for layer and extra stamping
Orchid Oasis and Parakeet Party ink pads
INSTRUCTIONS
Adhere the white panel to the base card. Cut out the second smallest Scalloped Contour die to form the panel.
Stamp the foliage stamp in Parakeet party to the centre of the panel. Stamp and die cut the striped tea cup and flowers then adhere as shown to the card panel.
Stamp your chosen sentiment on the bottom right of the white side panel.
INSTRUCTIONS
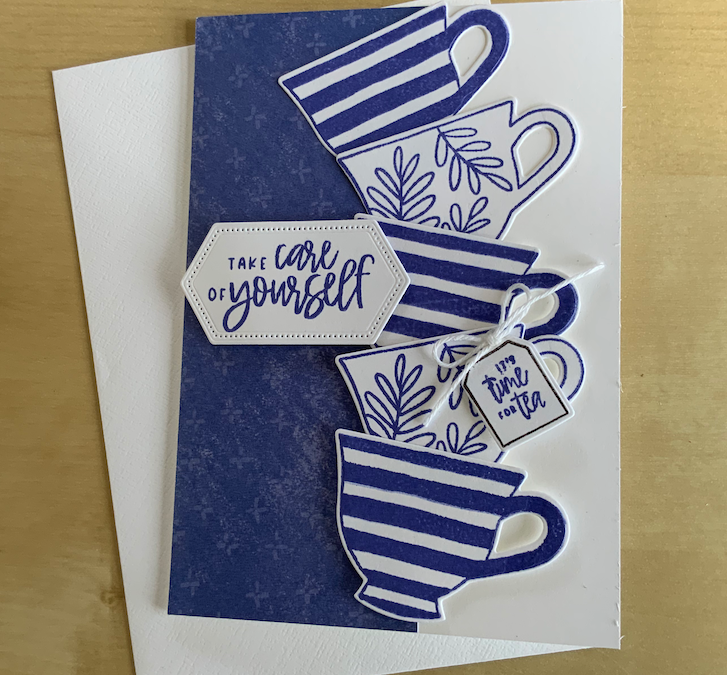
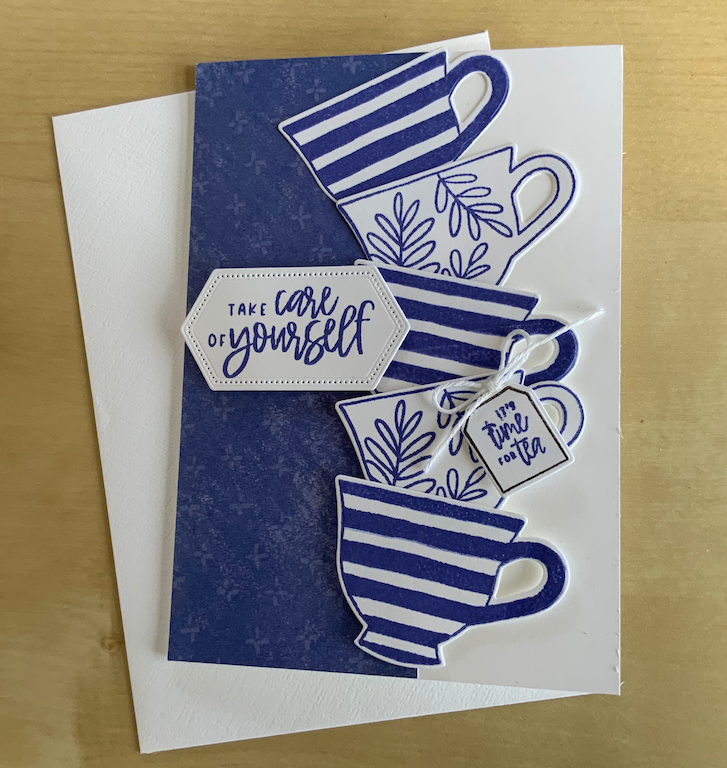
Tea Stack card:
- Basic White card base 21 x 14.9cm scored at 10.5cm
- Orchid Oasis ink pad
- Basic White scraps for stamping
- DSP 14.8 x 5.2cm
Adhere the DSP to the card base on the left hand side on the front.
Stamp three striped tea cups and two fern tea cups in Orchid Oasis and die cut out.
Stamp one tea bag shape and add a chosen sentiment inside it.
Stamp your main sentiment on a scrap of Basic White and punch or die cut out.
Add tea cups to card as shown using dimensionals for the lower ones.
Add sentiment on dimensionals.
Add tea bag. Tie a bow in white twine, then adhere using a glue dot.
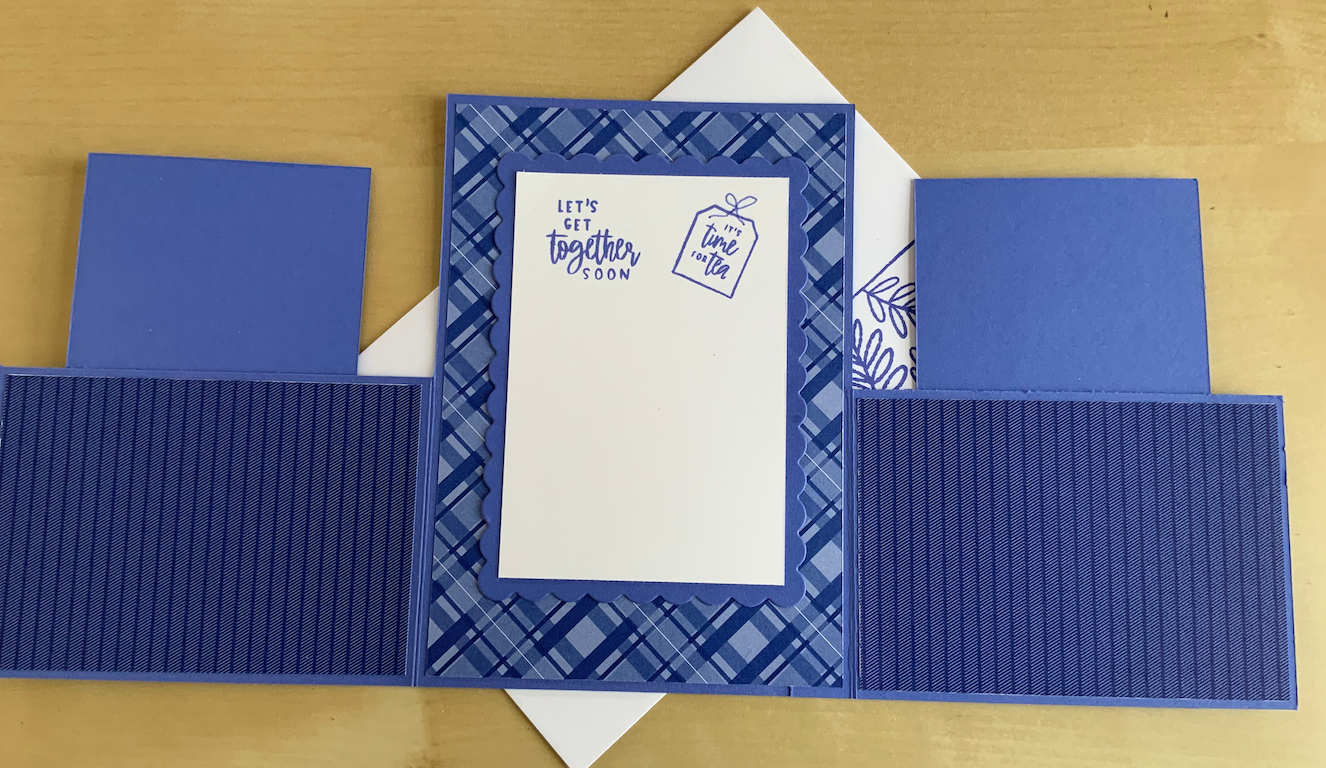
INSTRUCTIONS
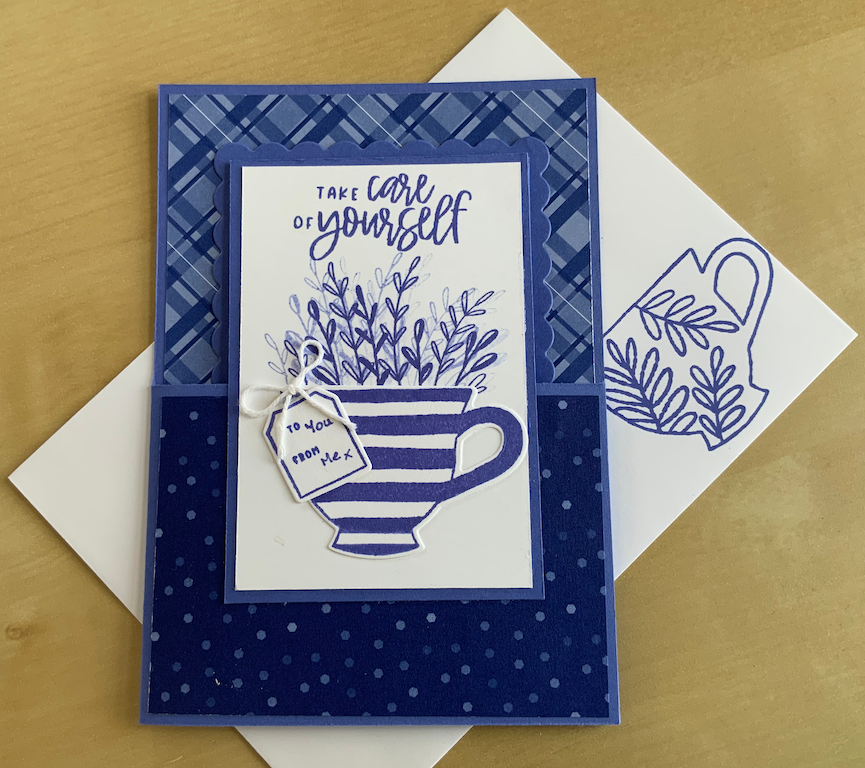
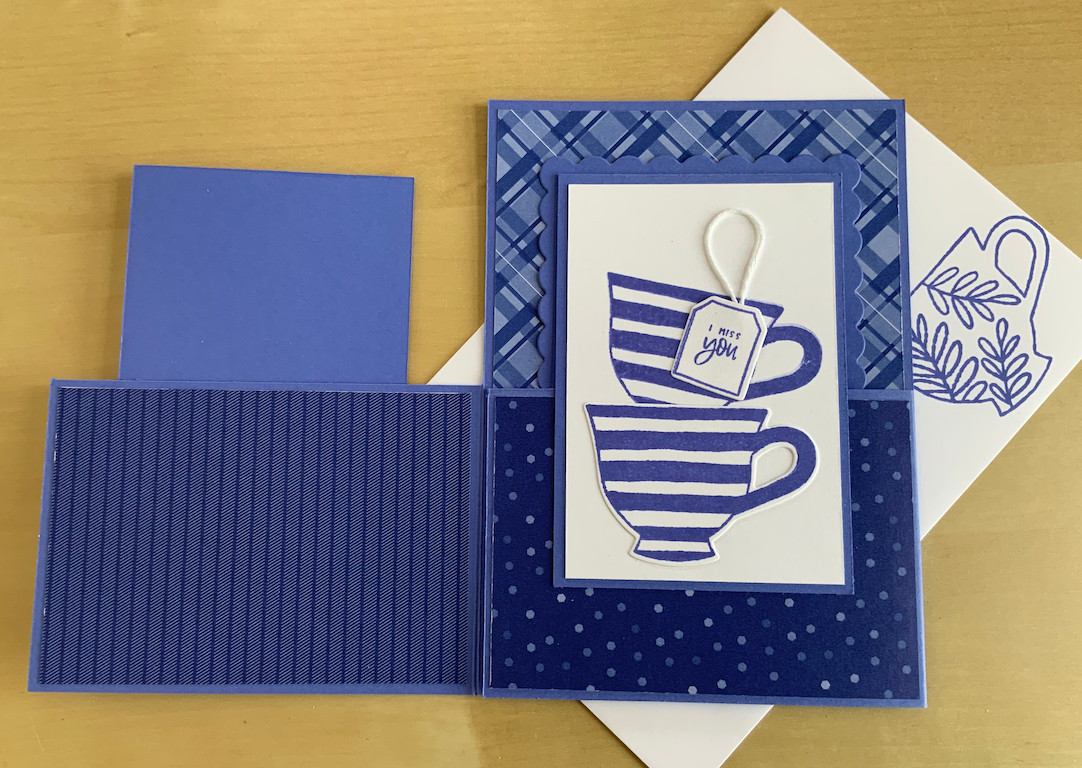
Double Flap card (also see video):
BASE CARD:
Orchid Oasis card base 21×14.8cm scored in half 10.5cm
Cut on the short side at 7.4cm down to centre fold. Cut out top section.
Orchid Oasis panel 12 x 7.4 cm score LS at 1.5cm. Attach to front of base card by this flap.
DSP Pieces:
- 1 x 10 x 14.3 cm
- 2 x 7 x 10cm pattern 1
- 2 x 7 x 10cm pattern 2
Adhere respectively to card centre back, inside side panels, outside front panels
Orchid Oasis:
- 1 x 12 x 8.5cm – Die cut with second largest scalloped contour die for back panel
- 2 x 7 x 10.3cm pieces
Add to base card fitting carefully as shown in the video.
Basic White:
- 1 x 7 x 10.3
- 2 x 6.5 x 9.8 cm
Stamp each panel as desired – I stamped and die cut several striped tea cups, tea bag and ferns as shown. Stamp required sentiments.
Add to card.
Remember you can use dimensionals or any depth on the front panel only.
Don’t forget to stamp your envelope!
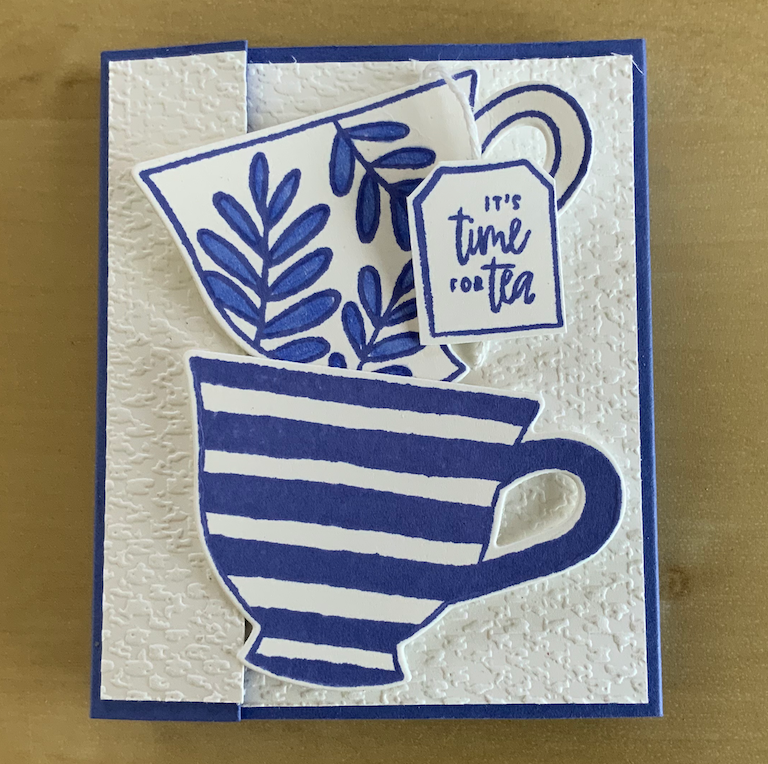
Tea gift pouch (also see separate video):
- Orchid Oasis Card base 16 x 10.5cm
Score on the long side at 6, 7, 13 and 14 cm
Score on the short side at 1.5 and 2cm
DSP or embossed white card:
- 1 x 8 x 11.8cm
- 1 x 8 x 5.5 cm
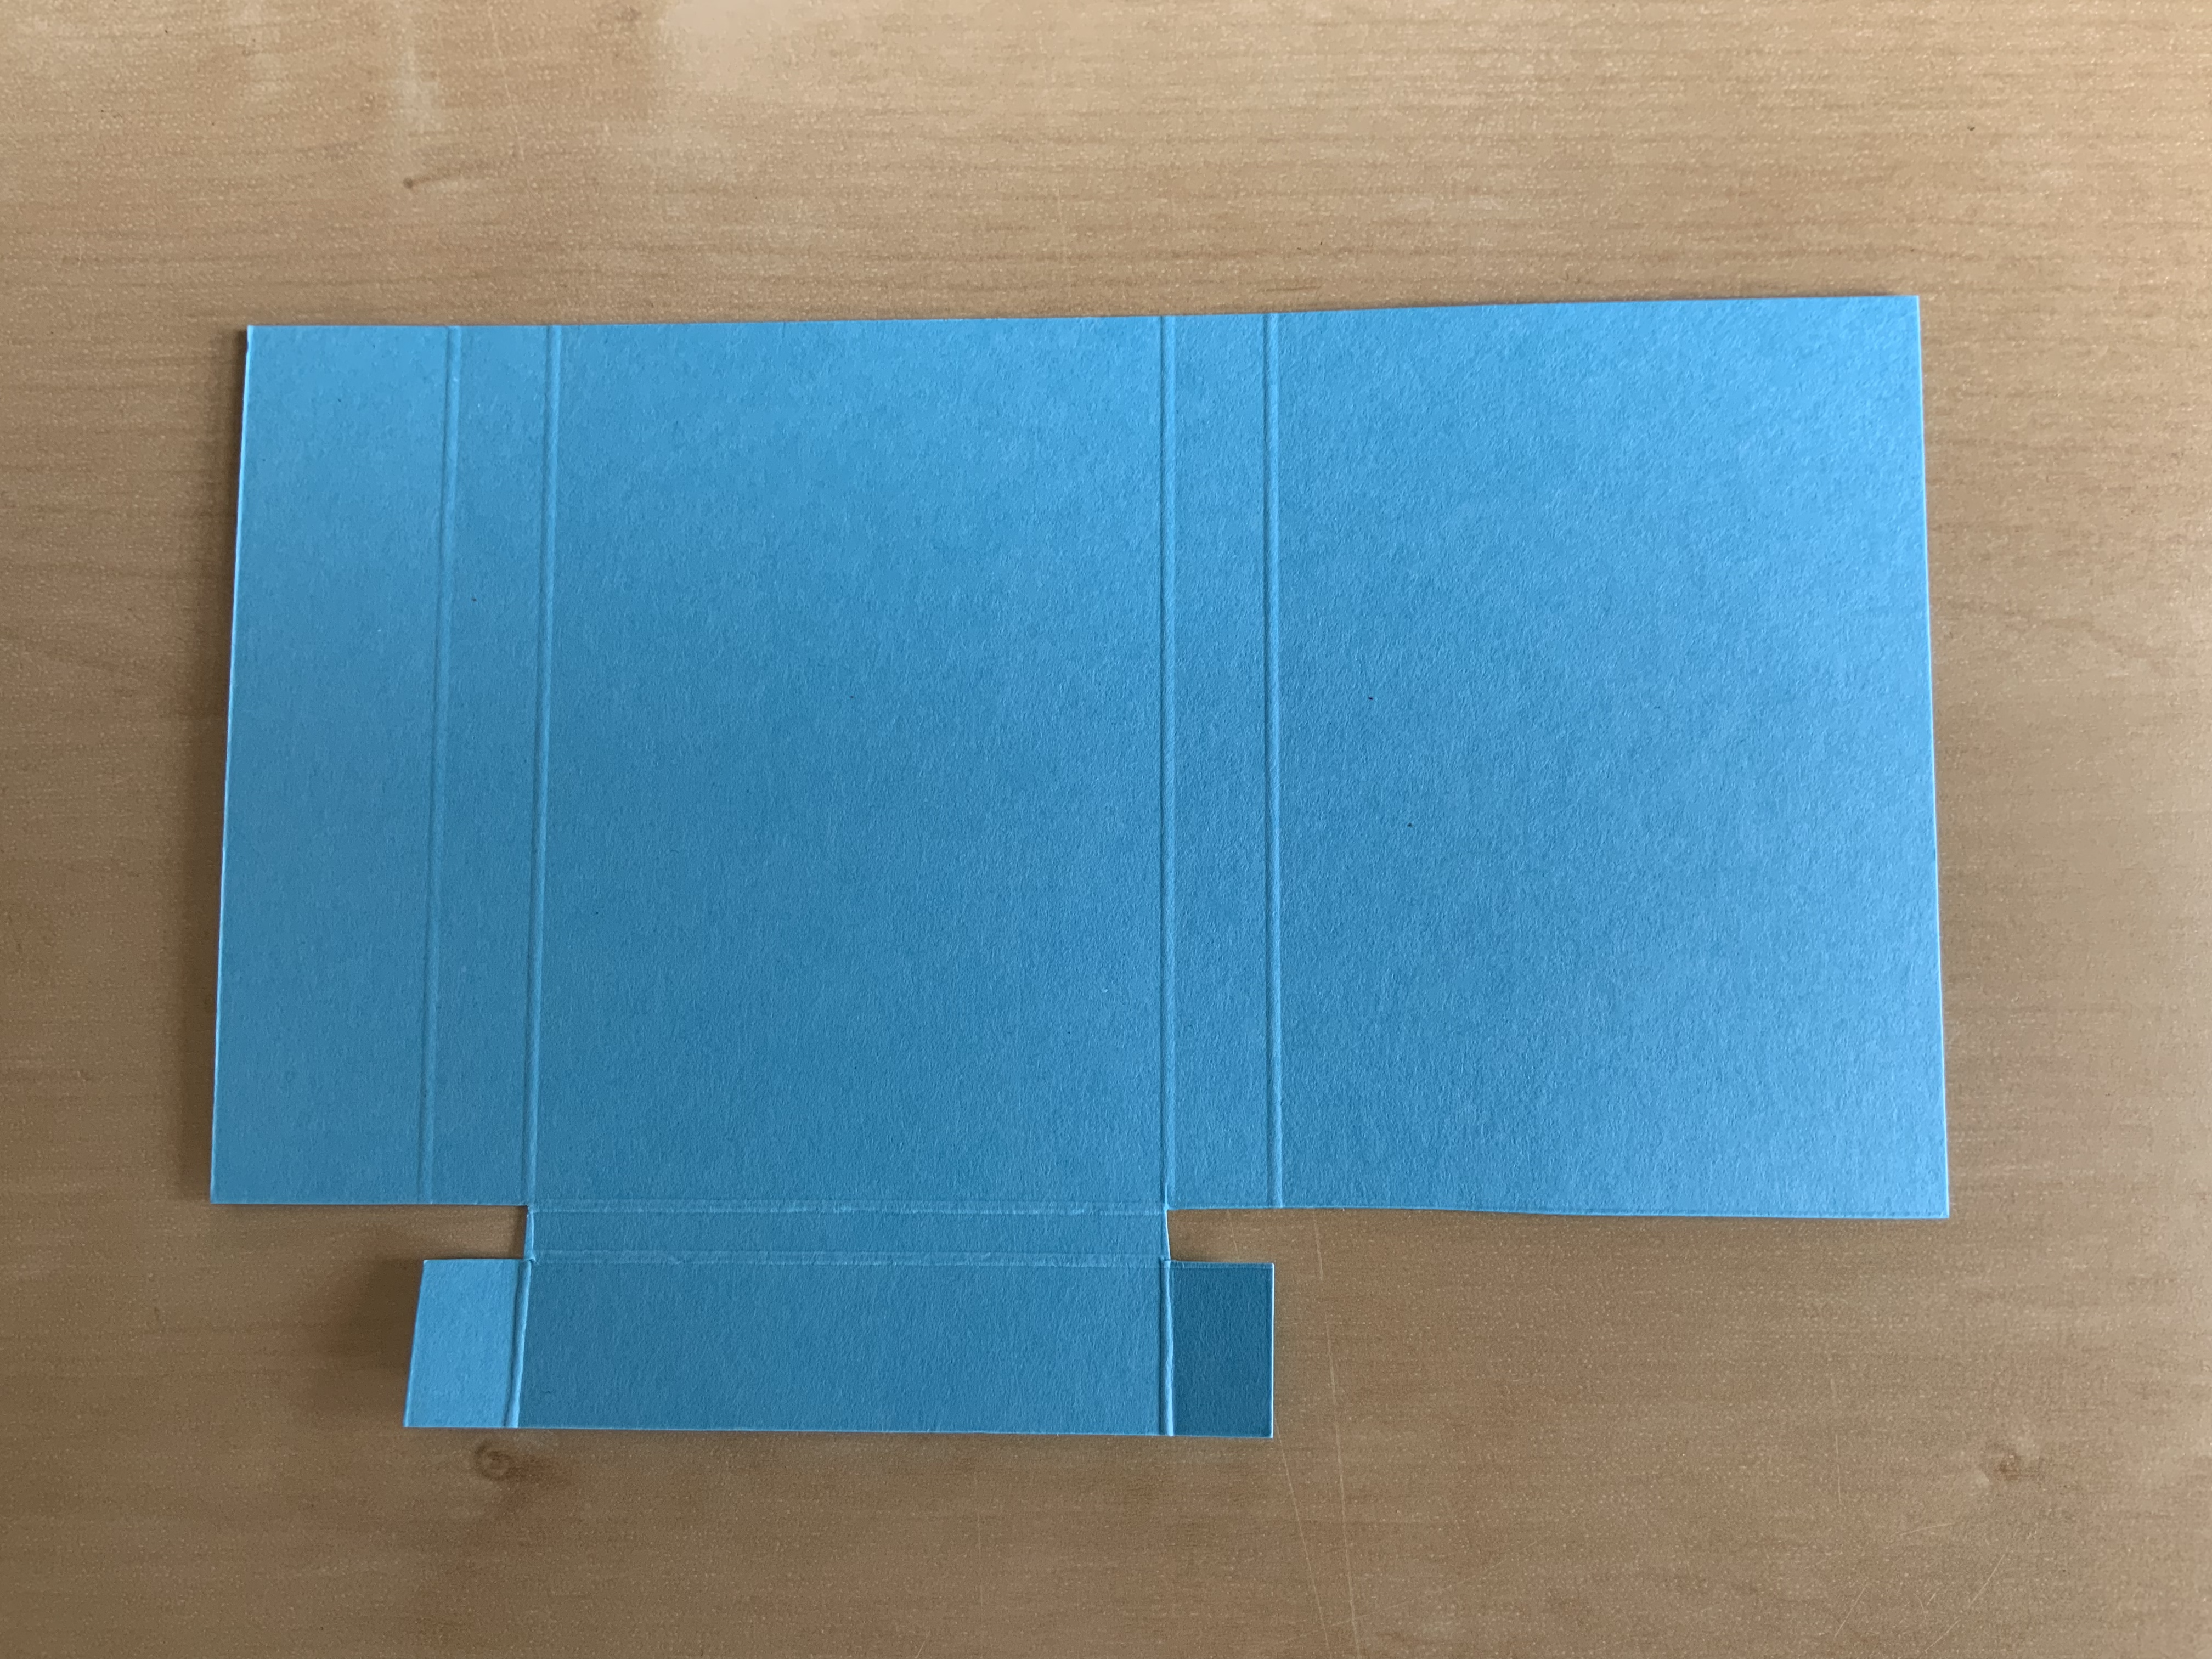
Cut lower pieces off the base card as in the picture below and explained in the video. Burnish folds. Score the tiny tabs in half.
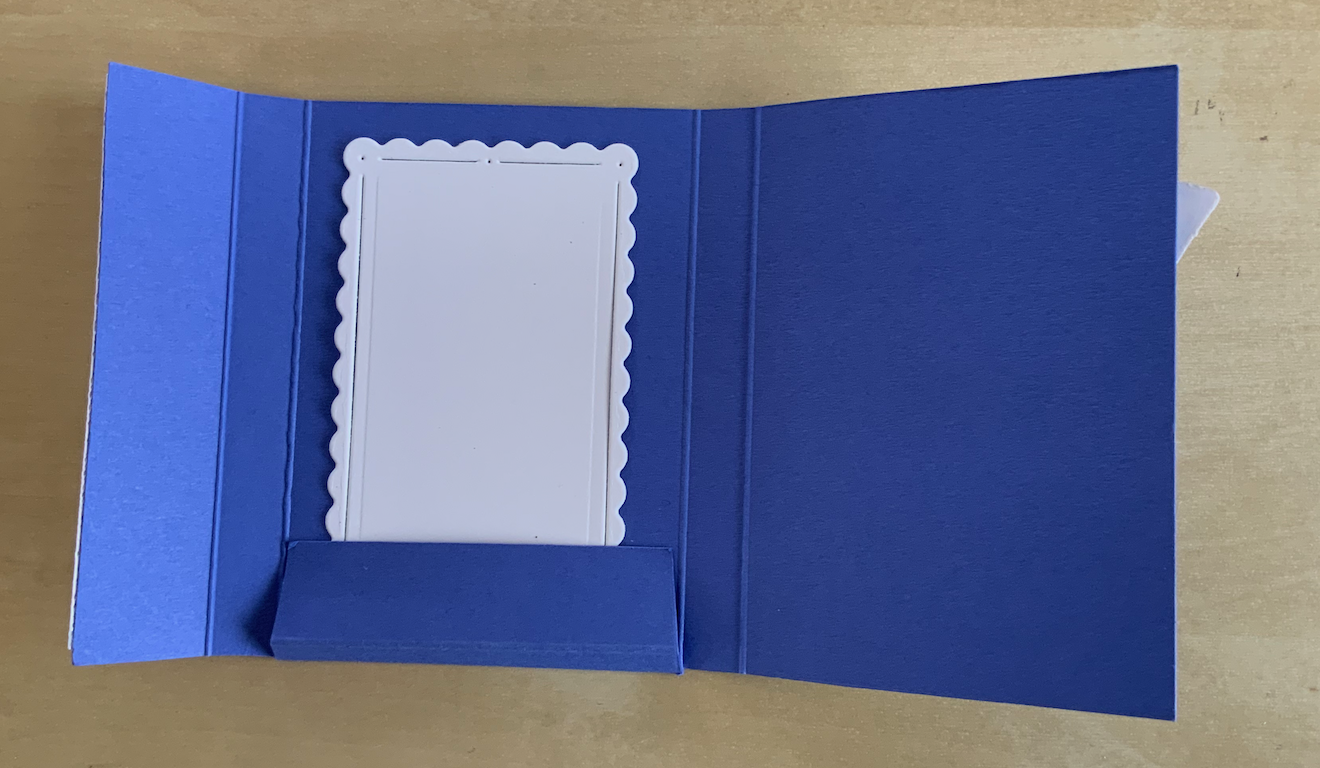
Stick the outer half of the tabs to the back of the gift pouch to form the “tray” to hold the teabag/biscuit gift.
Add the DSP or card panels to the gift pouch front and side flaps.
Stamp tea cups, tea bag and die cut.
Put dimensionals only on the right hand side of each cup to allow the flap to close. Add small length of white twine to back of the top cup near the handle.
Adhere cups to front of pouch
Add tea bag die cut to end of the twine and leave to dangle freely.
Insert gift!
